Apples
We planted some new trees two years ago; James Grieve, Egremont Russett and another variety, the label of which has long blown away. We expected some fruit this year and while we do have some very tiny apples we are really disappointed in the size of the trees. One of them has tripled in size but the rest remain the same and the trunks still require some support.
Our two established apple trees (Bramley and Grenadier – both cooking apples) are rewarding us after the hard pruning they had last year.
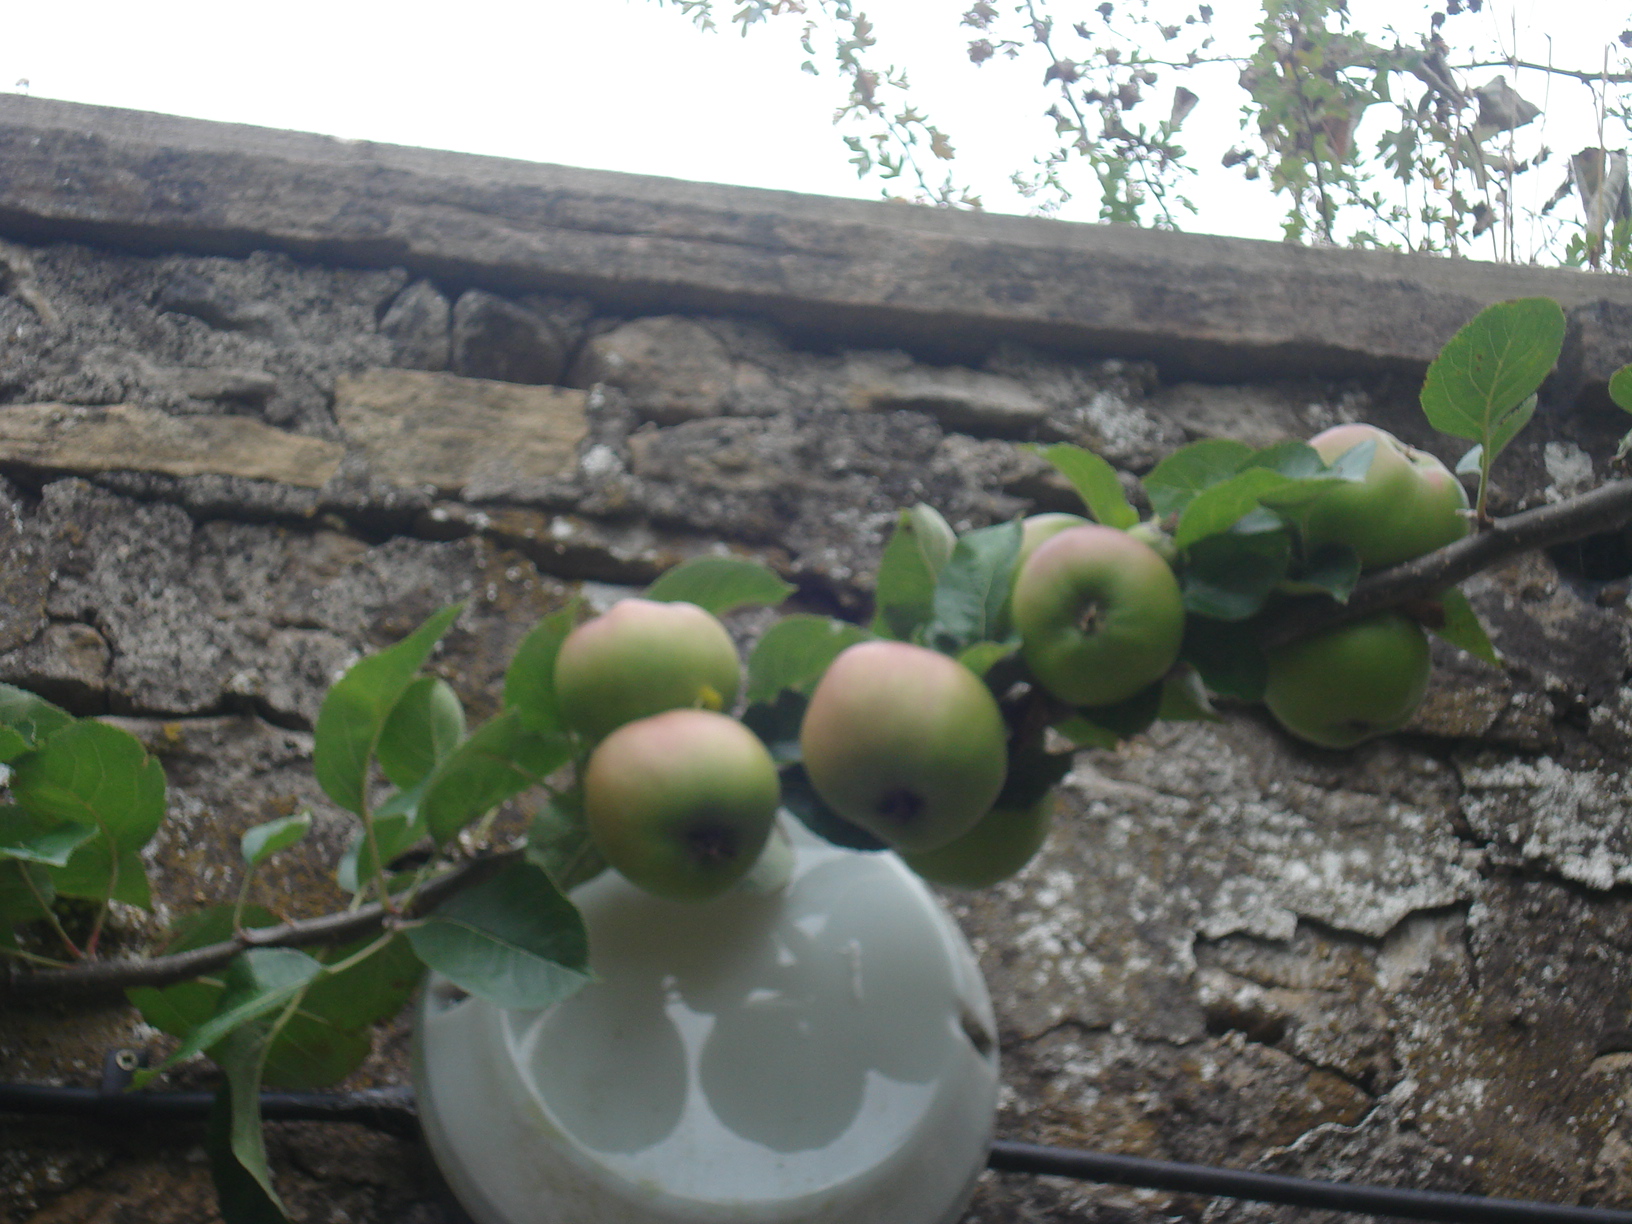
Our Bramley apples
At the end of last summer a good friend of ours, and fellow cider-maker, was evicted from his allotment. His crime? He dreamed of the old-fashioned allotment experience; the shed as his refuge from the world, sipping ice cold cider from a cool box while he tended his veg, sitting in the sun watching his tatties growing. The reality? Rules and regulations. He let some weeds grow and the committee decided he was undeserving of his sixty square metres and he was promptly evicted.
The irony is, he had just purchased two apple trees so he gave them to us. We plonked them in large pots until we could make space for them and this year they are producing more between them than the whole of last year’s harvest.

The evicted apple trees
Pears
Again we planted two pear trees two years ago, both Conference variety. One suffered a very odd leaf condition each spring and this year, despite both having produced blossom, there is no fruit at all.
Plums
The Victoria Plum tree we planted in 2010 has come into its own this year. It is so laden with fruit that one branch has broken with the weight and Mr Mac has had to fashion a DIY support to stop another branch from snapping. The fruit is just starting to colour so not long now!

Mmmmmmm plum crumble

Mr Mac’s DIY branch support fashioned from wood and carpet!
Gage
The gage tree we planted beside the plum tree (variety Cambridge) produced four gages in its first year and since then nothing. We had high hopes this year when there was a tiny amount of blossom but there is no fruit at all.
Blueberries
This is my £1 bargain bucket Blueberry Elisabeth plant I rescued in 2011. I brought it home and planted it in a pot with some ericatious compost and last year it recovered and produced a few blueberries…..not quite enough for a pot of jam though. Maybe if I had not nibbled on them every time I was in the greenhouse……..This year looks more promising.
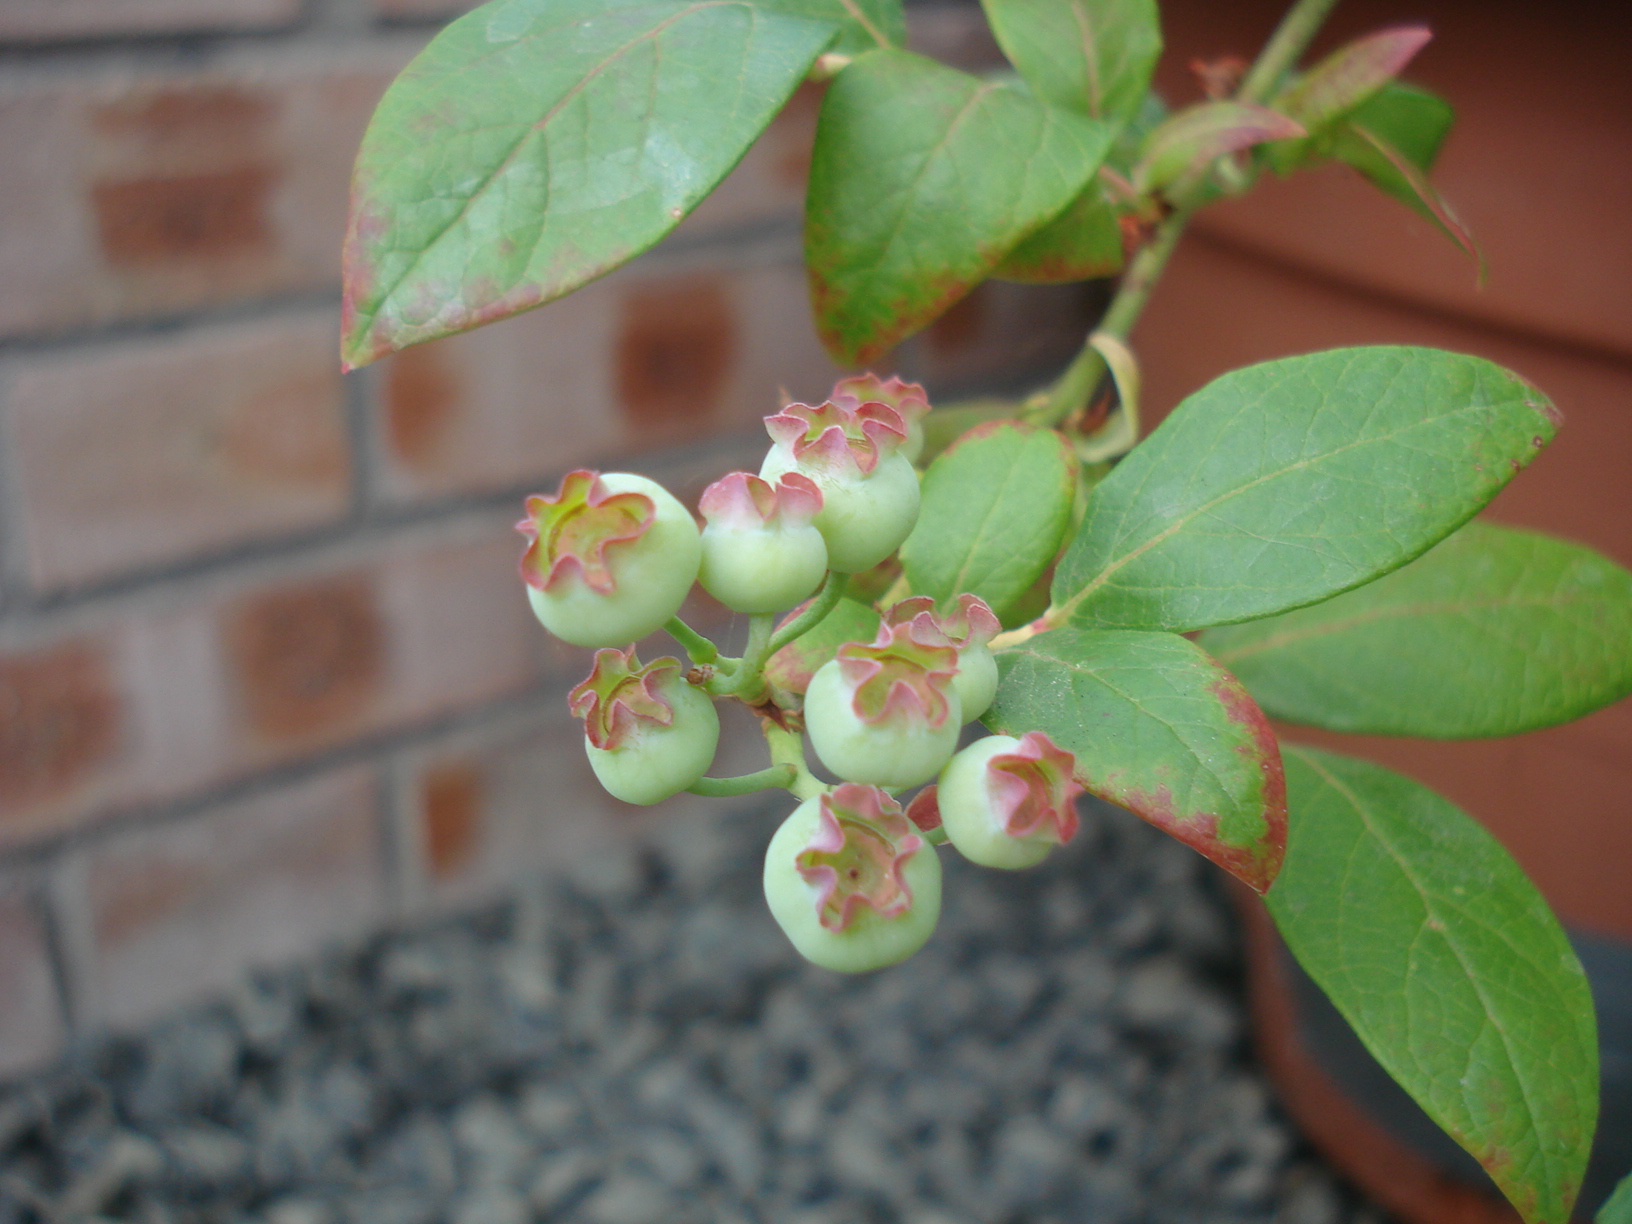
I must not nibble the blueberries
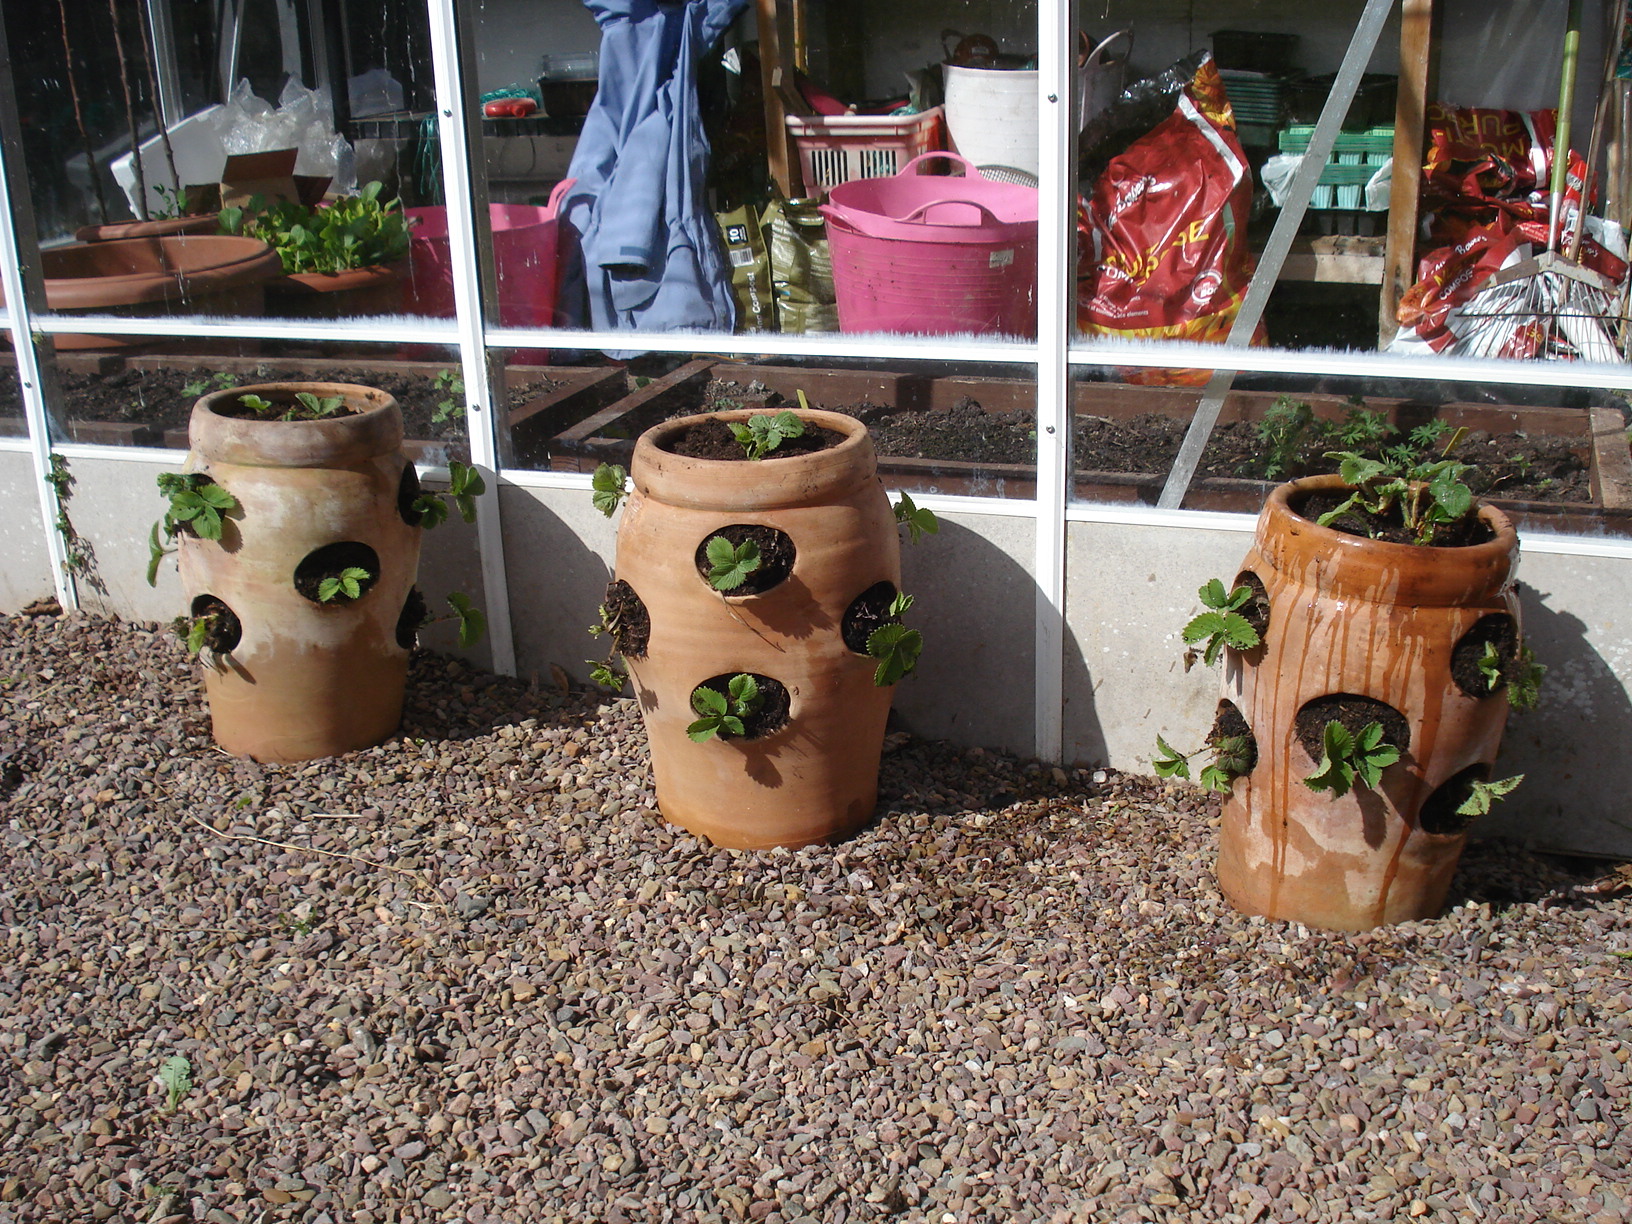
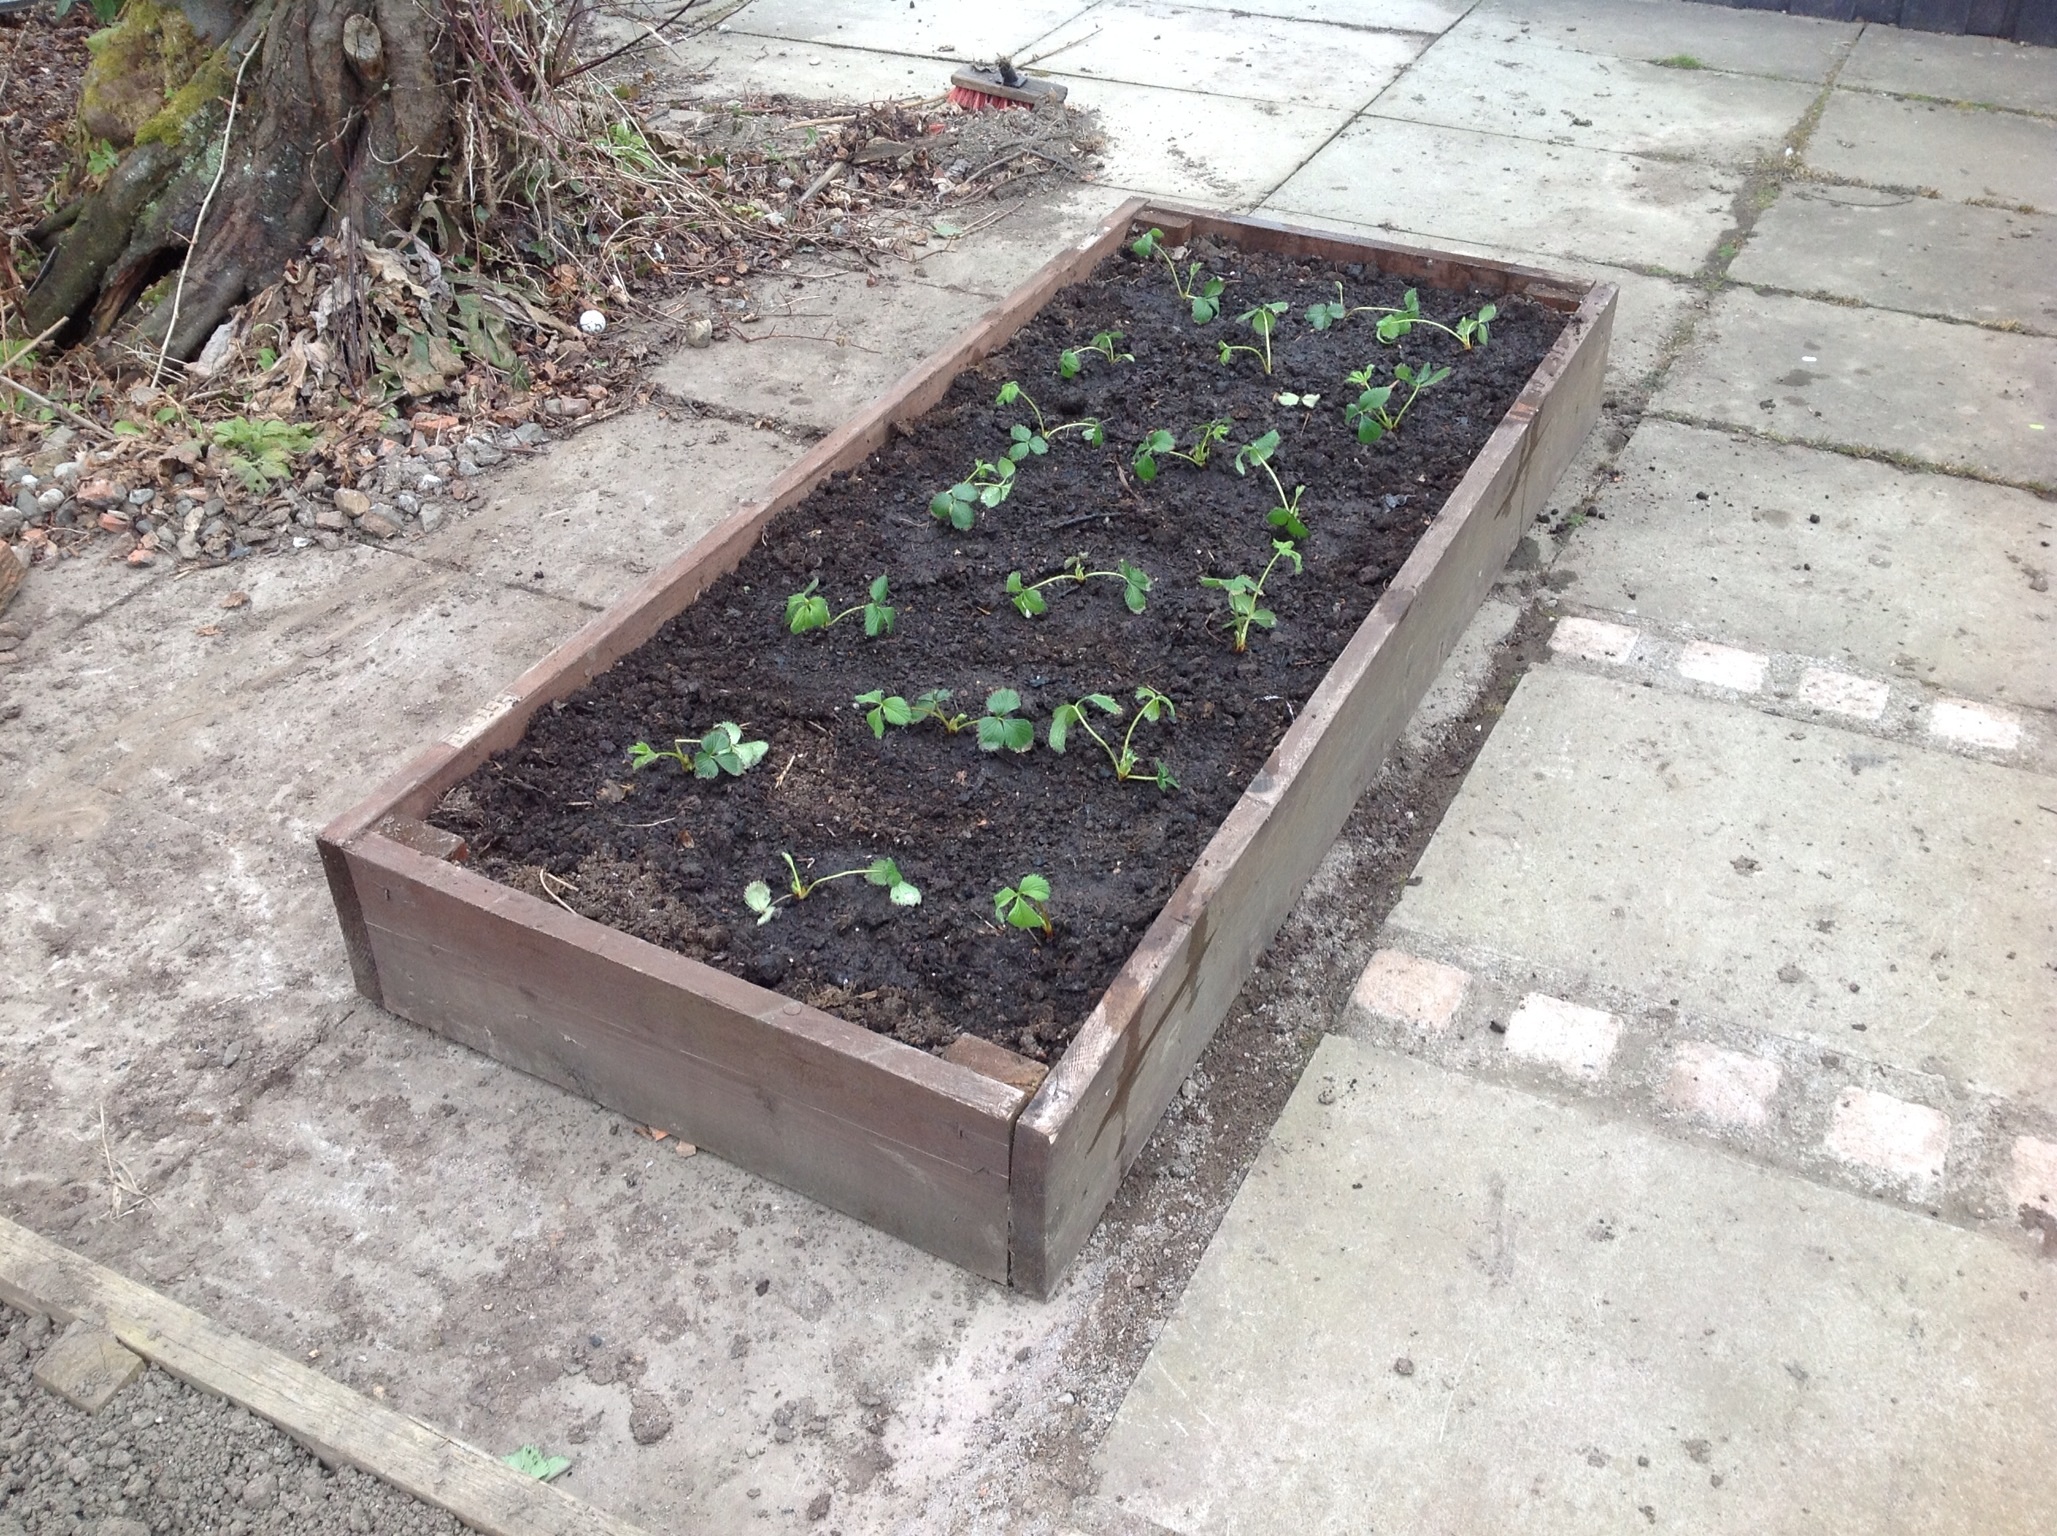
Strawberries
We originally planted varieties Elsanta, Judibell and Cambridge Favourite but soon realised they were in the wettest part of the garden and strawberries don’t thrive in swamp-like conditions.
This year we bought new plants and put them in a raised bed. However, the badger ate them. We rescued some runners from our old plants and while we did harvest a small crop we only managed three small pots of strawberry jam.
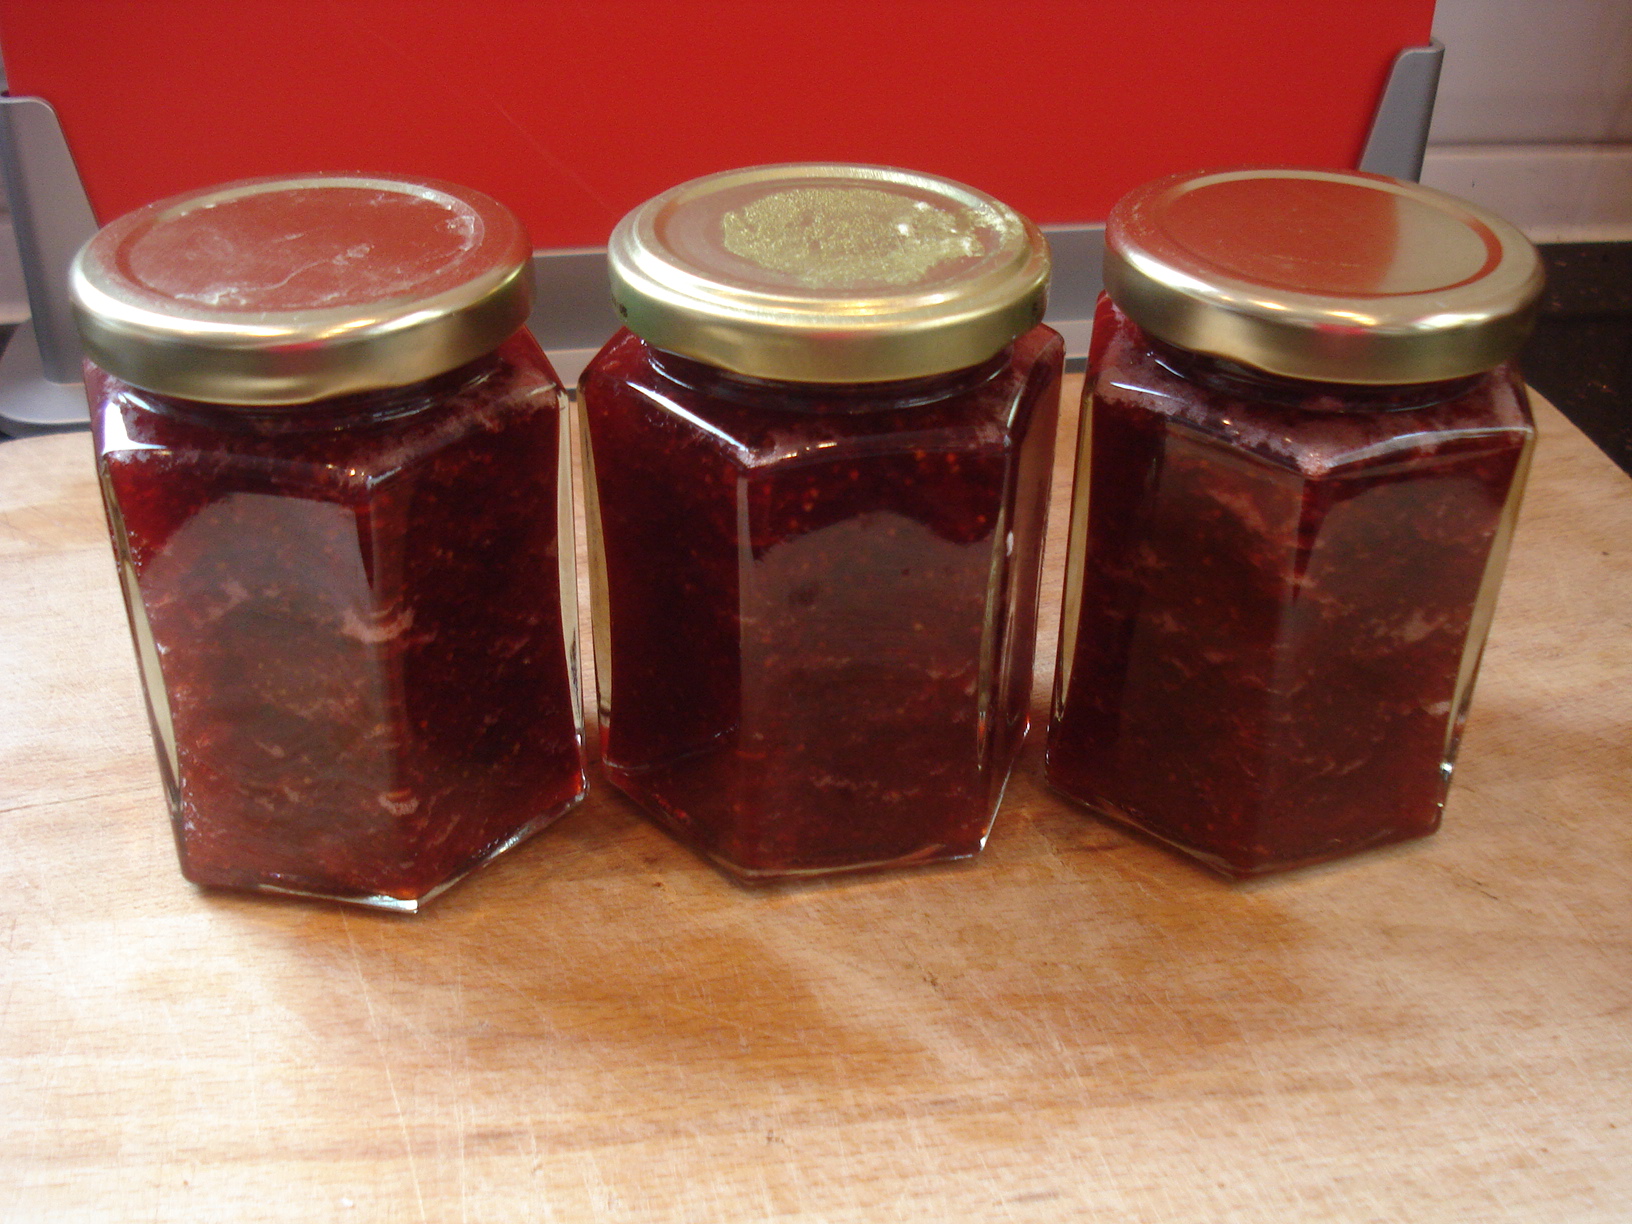
The sum total of the strawberry harvest
Raspberries
The rasps have had a great year, even the ones in the swamp that we have not got round to relocating. The variety is Glen Clova and so far we have half a chest freezer full, all ready for the jam pot.
Blackcurrants
Like the rasps we harvested over 20lbs of blackcurrants and, even having given lots away, have produced 48 pots of jam. The variety is Ben Lomond.

There were so many blackcurrants the bush collapsed on to the path with the weight!
Gooseberries
Every year, so far, the red and white gooseberry bushes have produced fruit then literally overnight all the foliage would disappear and the fruit would go mouldy. This year we have been pleasantly surprised that this did not happen and a small amount of fruit was harvested.
Needless to say the gooseberry bush growing out of the wall is laden with fruit. I think that bush would survive a nuclear holocaust!
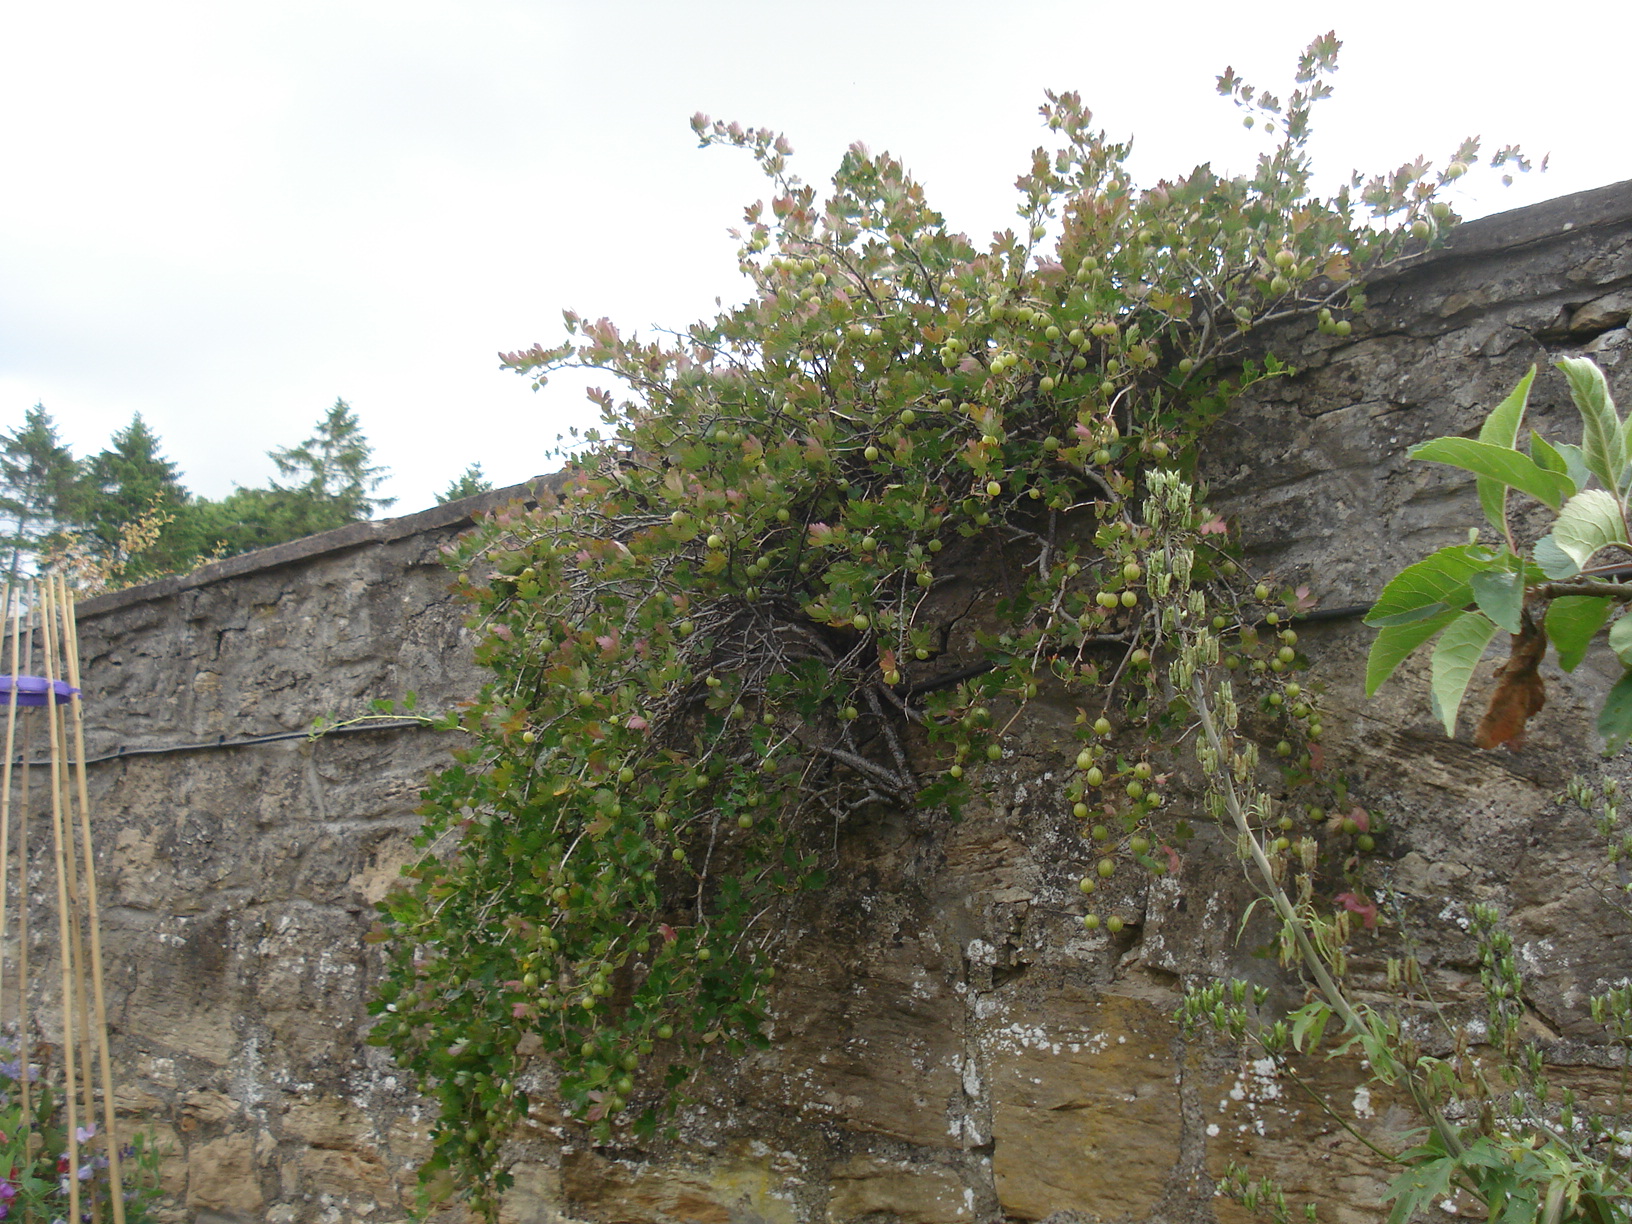
This little bush growing from the wall usually produces about 8lbs of fruit!
Redcurrants
Beside the gooseberry bushes, the redcurrants usually suffered the same disappearing foliage fate. I am please to say this year I have picked my first redcurrants. However, I was positive I planted a red and a whitecurrant bush but the bush I though was a whitecurrant is actually a blackcurrant. Very odd.
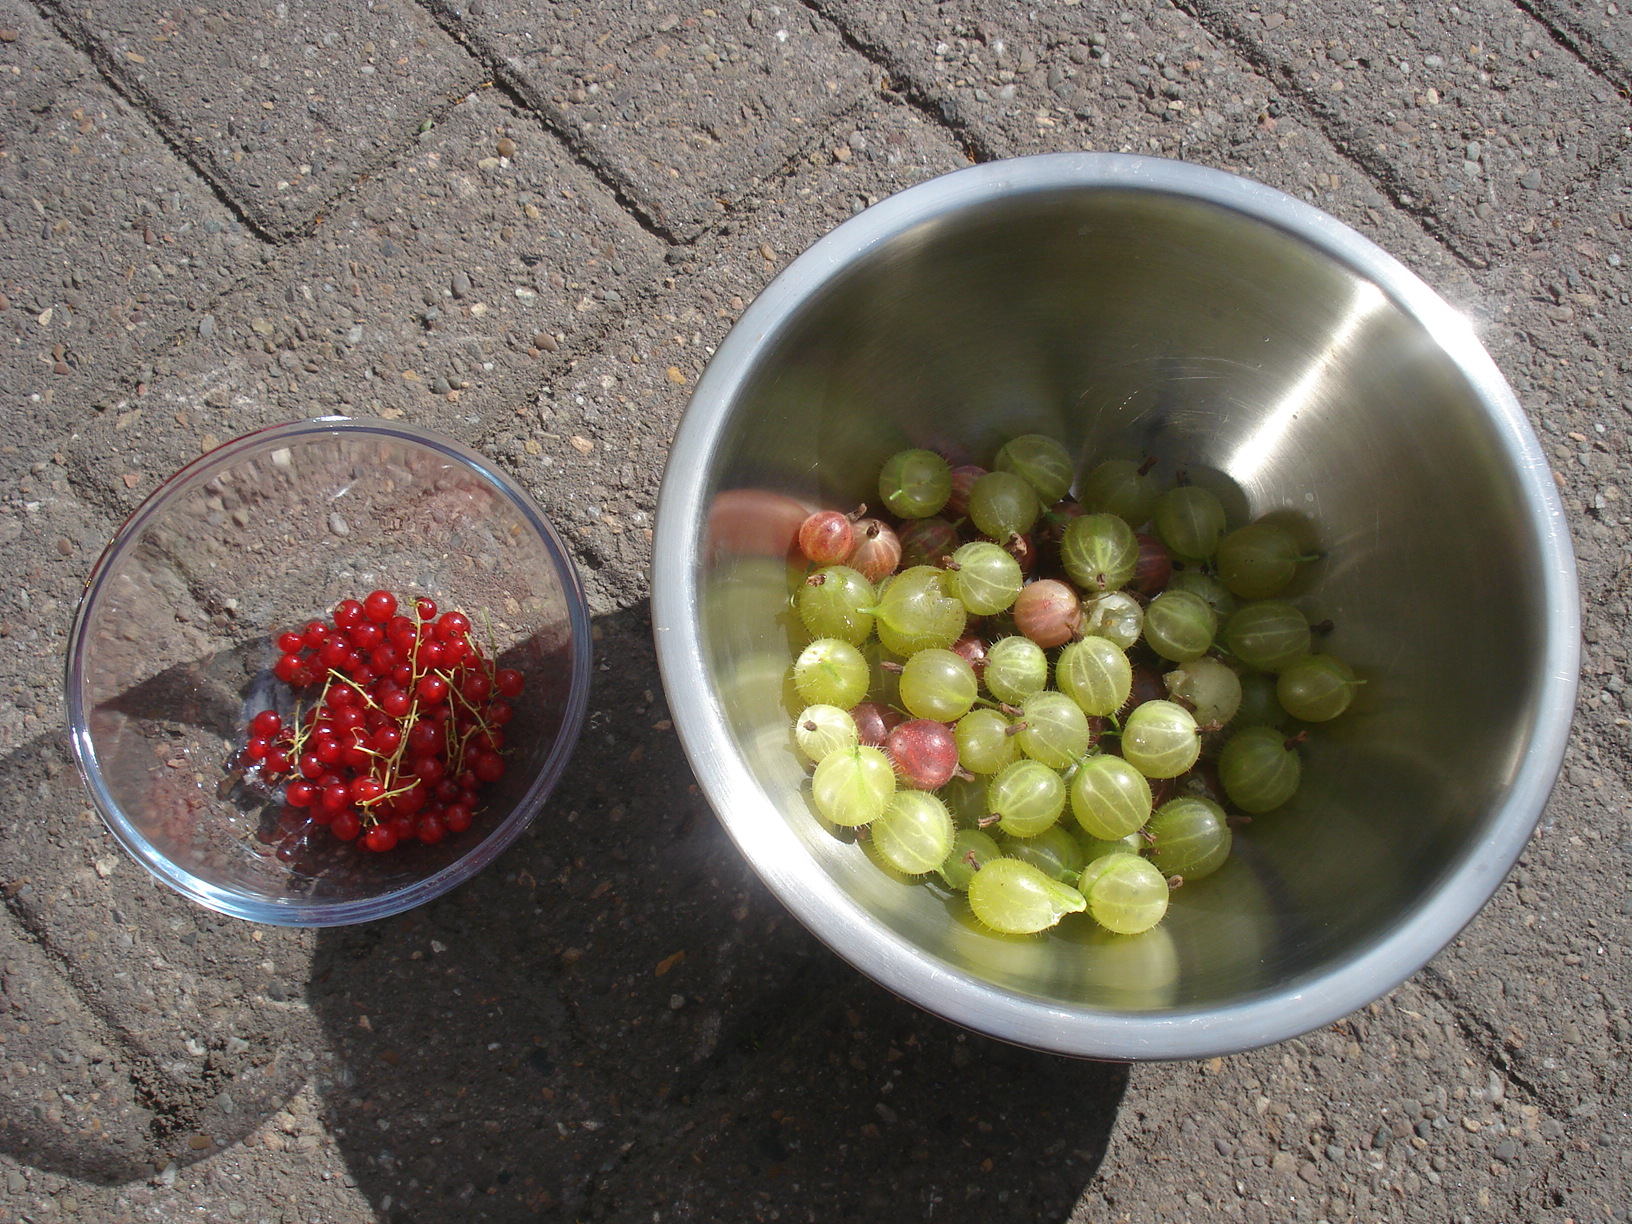
The redcurrant and gooseberry harvest
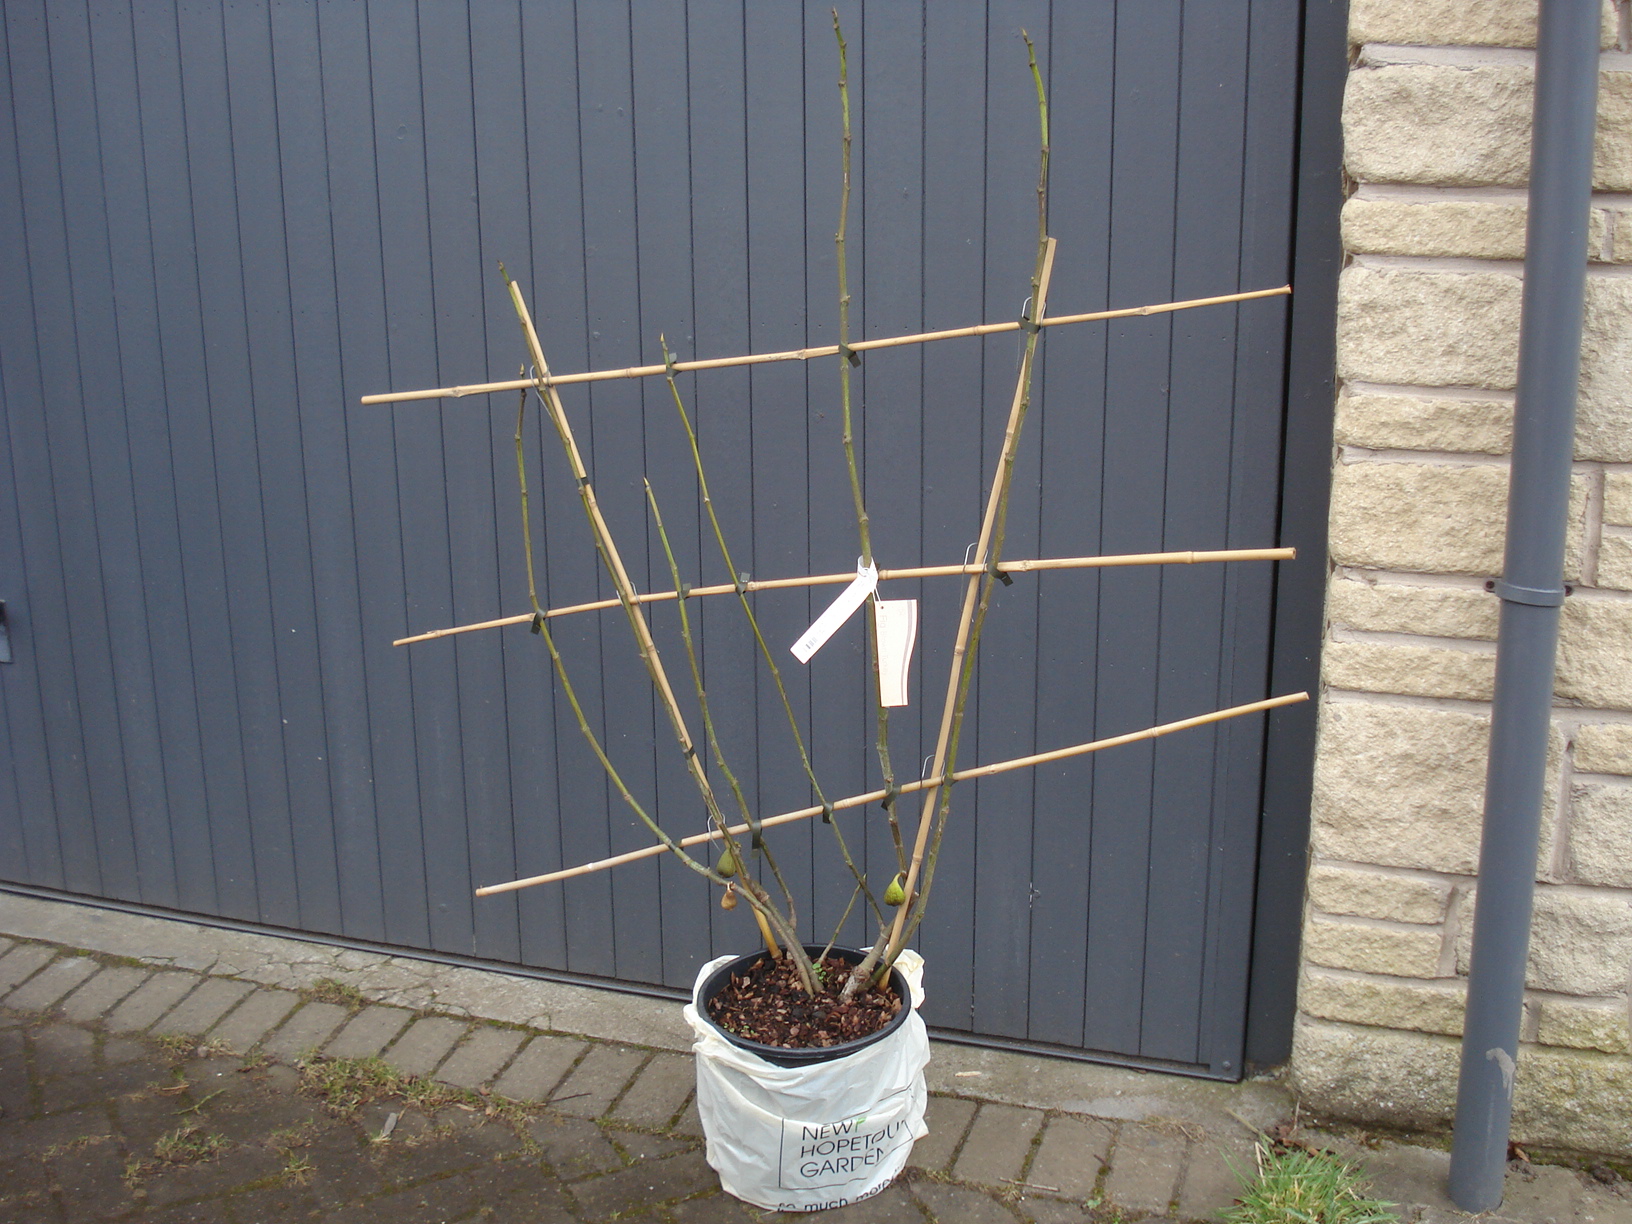
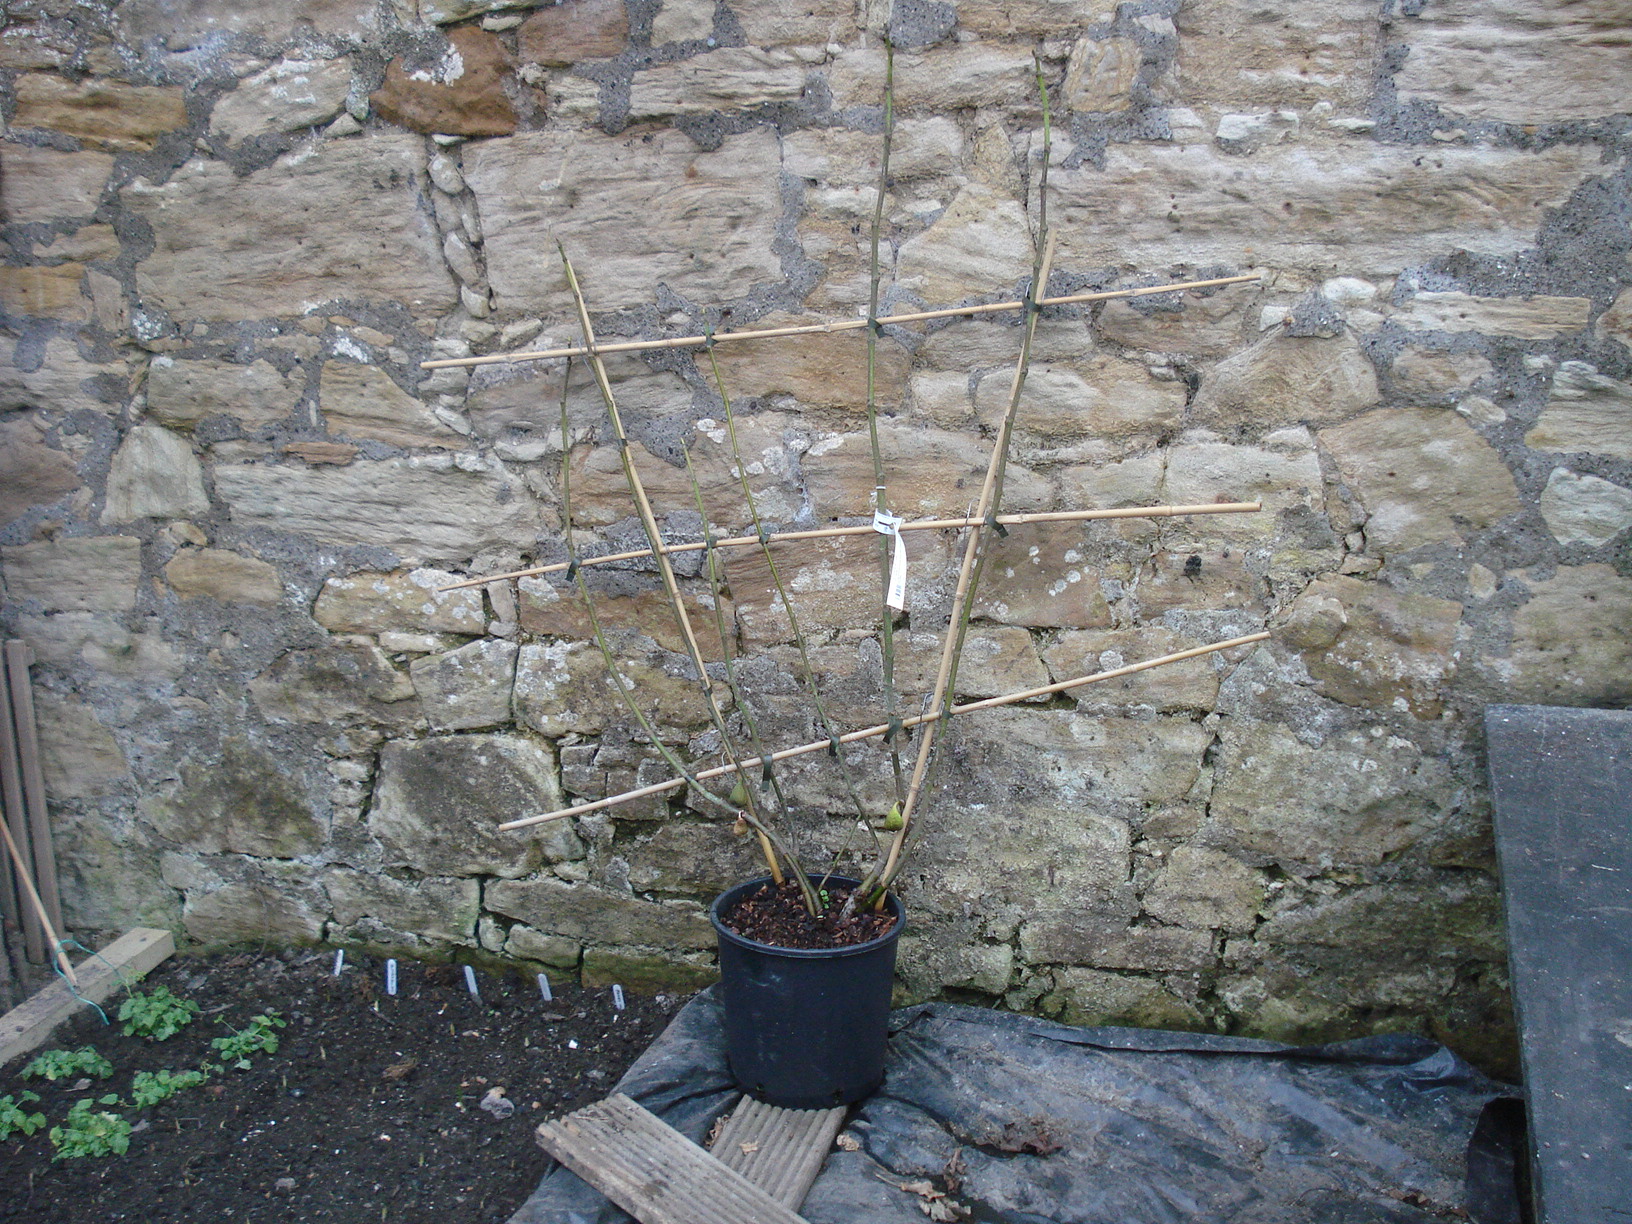
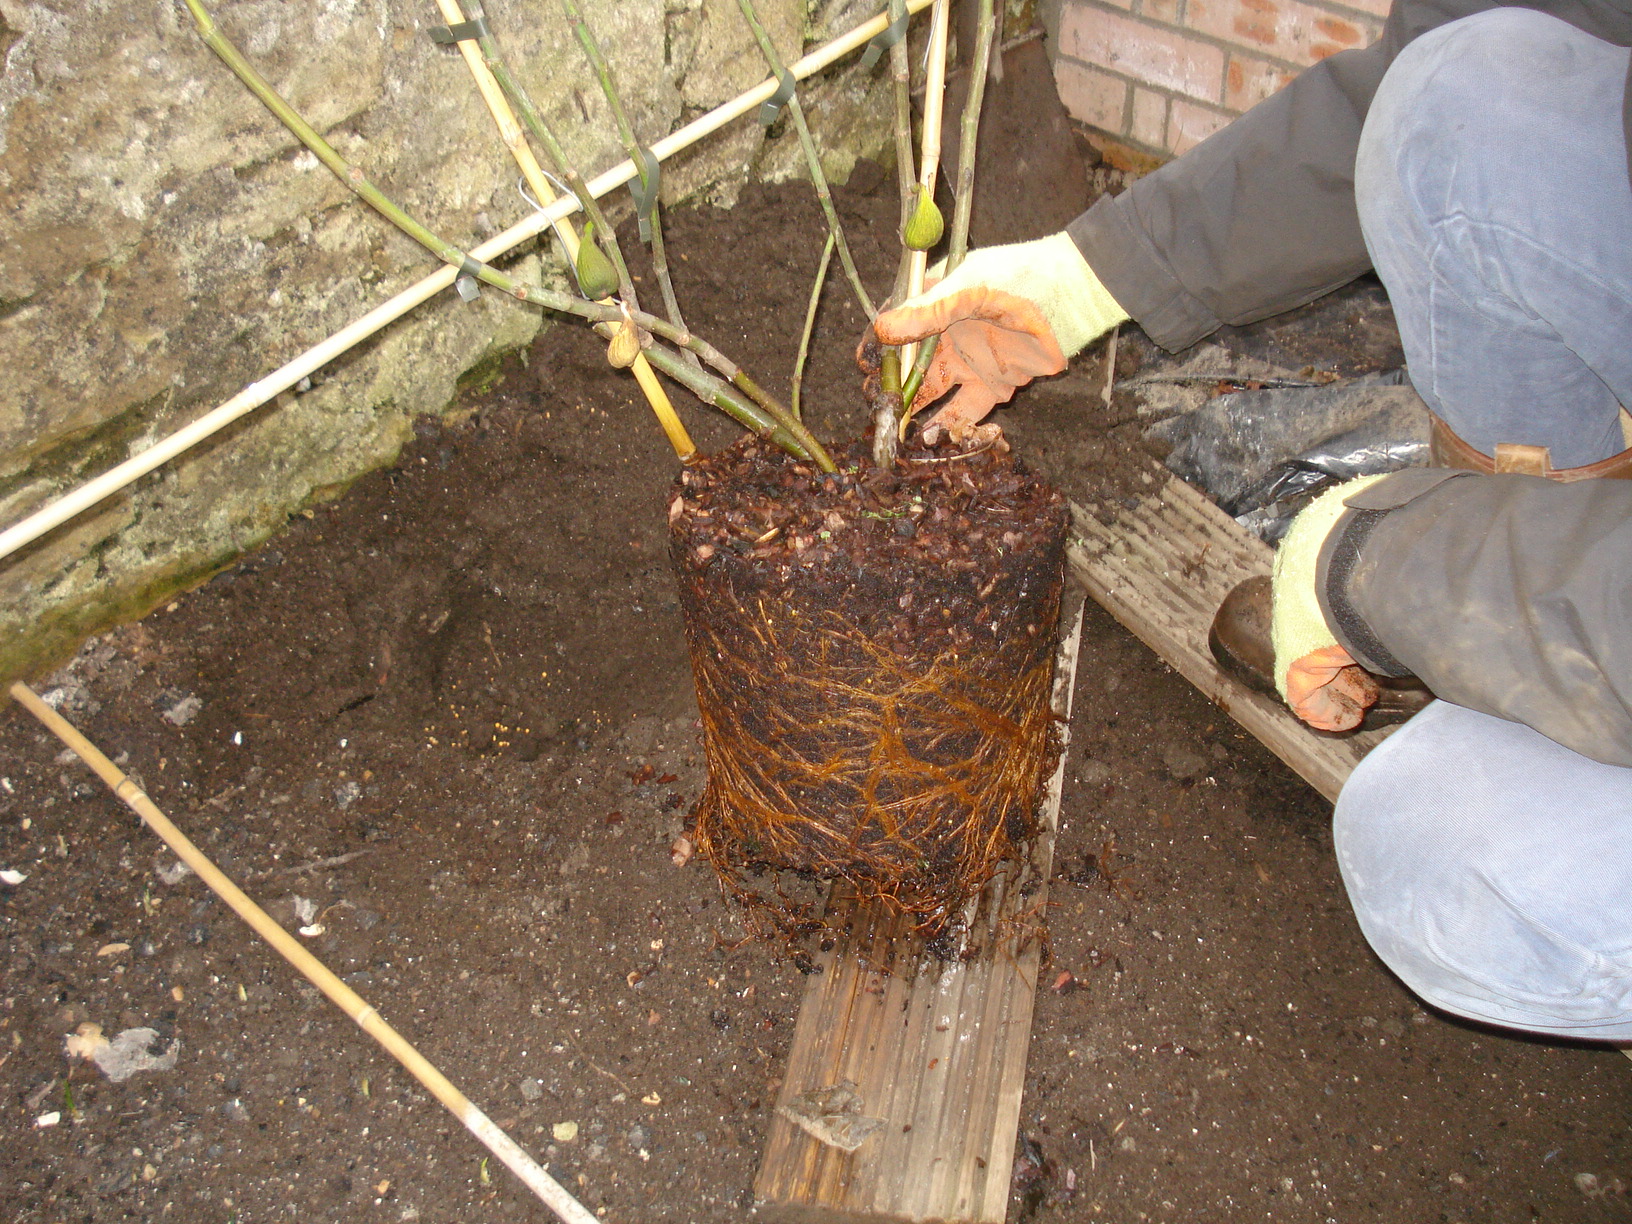
Figs
So far we have two figs left on the tree. They seem quite happy but value for money they are currently the most expensive figs in the universe at £24 each!

The most expensive figs in the universe
Melons
I had two plants which were thriving in the greenhouse then they just went brown and keeled over. When I pulled them out the roots had virtually disappeared. They were in the sunniest part of the greenhouse and oddly enough I think it was too hot for them during the heatwave!
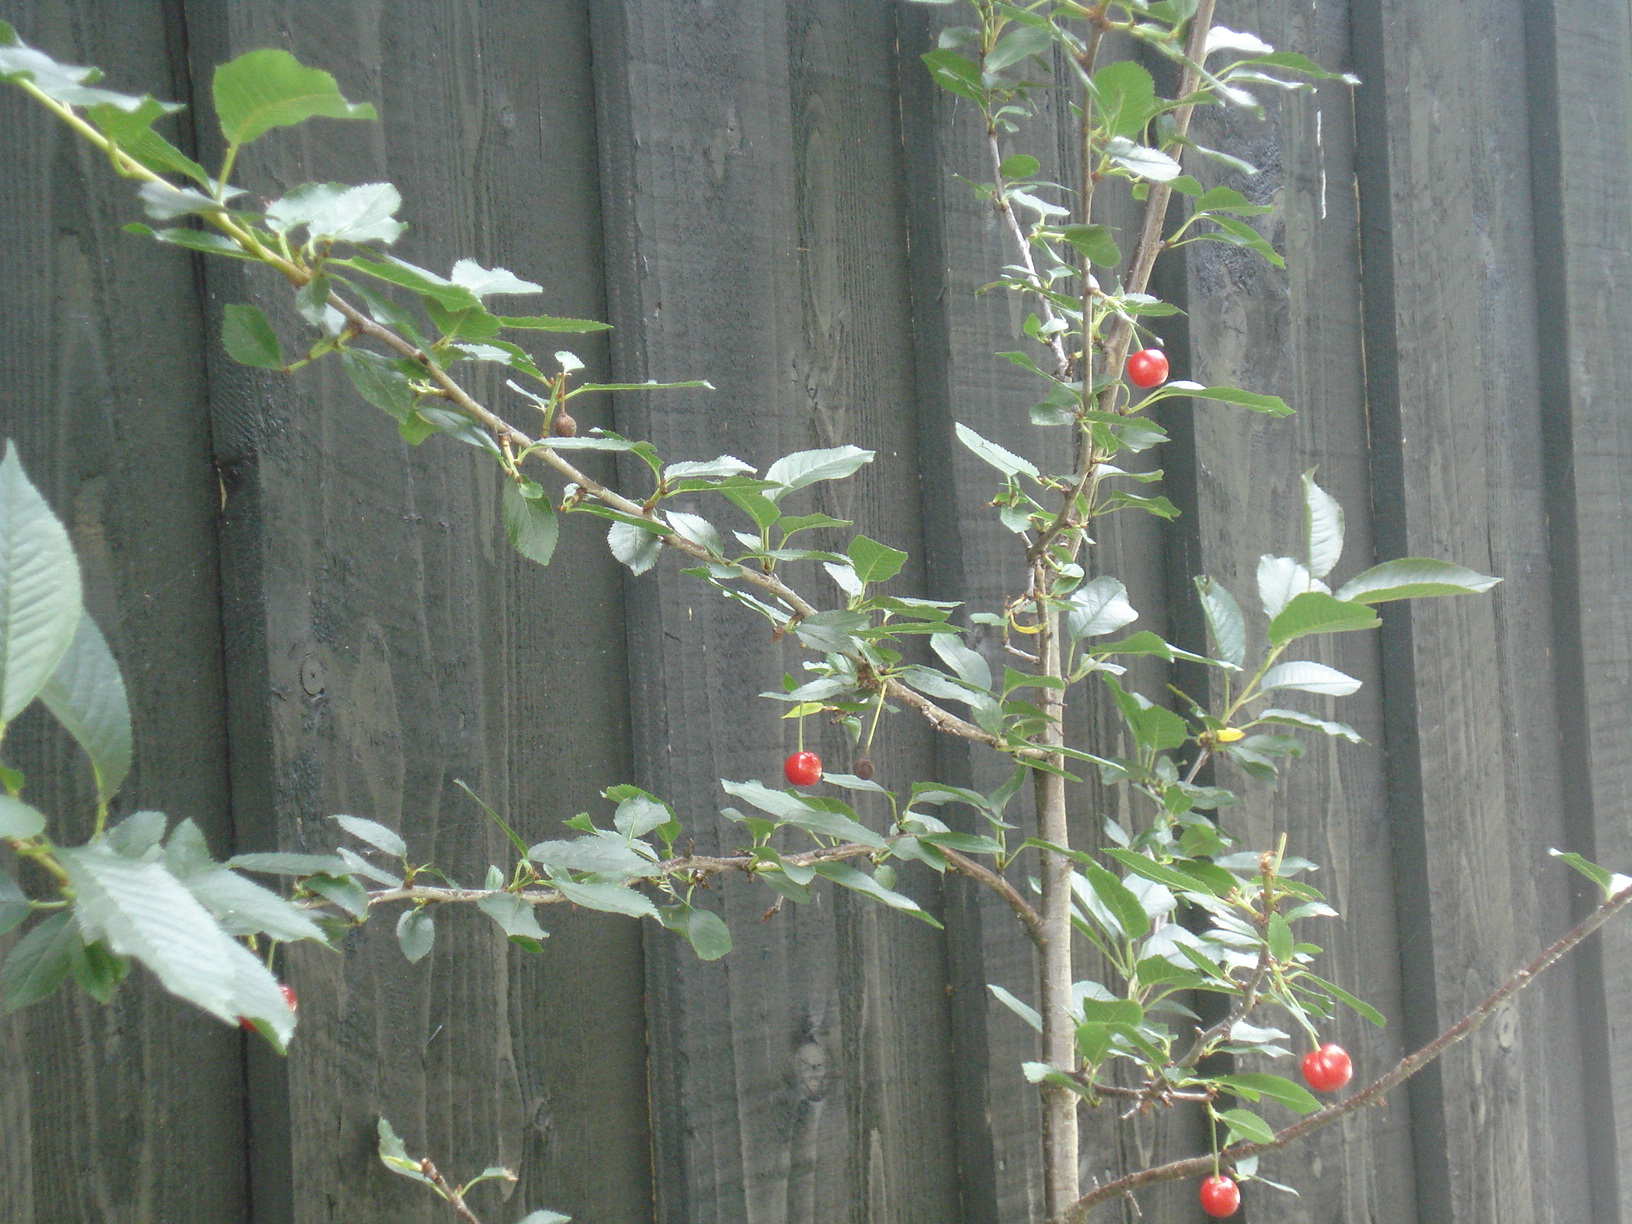
Cherries
We relocated one of the cherry trees to the back wall of the summerhouse which is north facing. All this has done is provide a haven for the birds to eat the cherries undisturbed! Last year we had 5 cherries, this year it looks as if we may be left with 7! Still no cherry pie or cherry jam boo hoo.