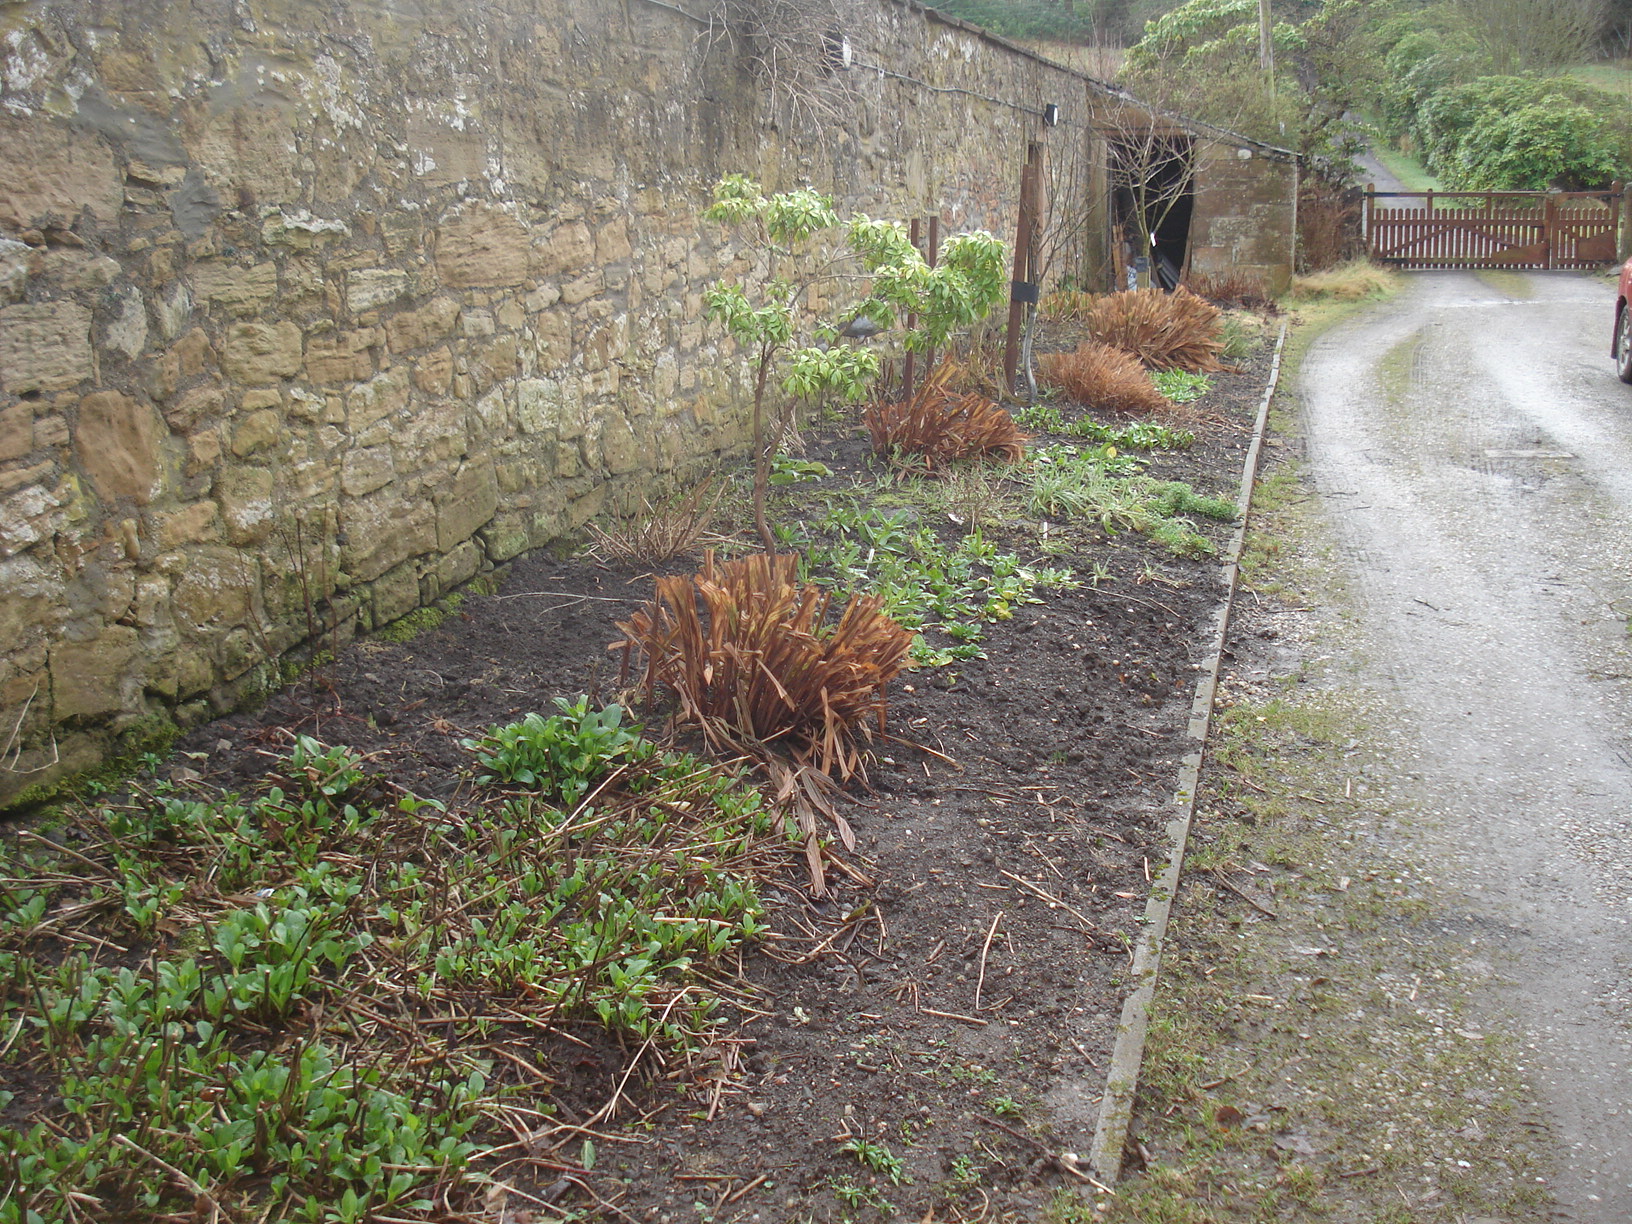
One of the first things we planted when we moved to this house was strawberries. We found a quiet patch at the bottom of the garden and planted Elsanta, Cambridge Favourite and Judibell – early, main and late croppers.
However, we soon discovered that the quiet patch is also a very wet, soggy, waterlogged patch and while we had a reasonable crop in the first year, there has not been enough for a pot of jam since!
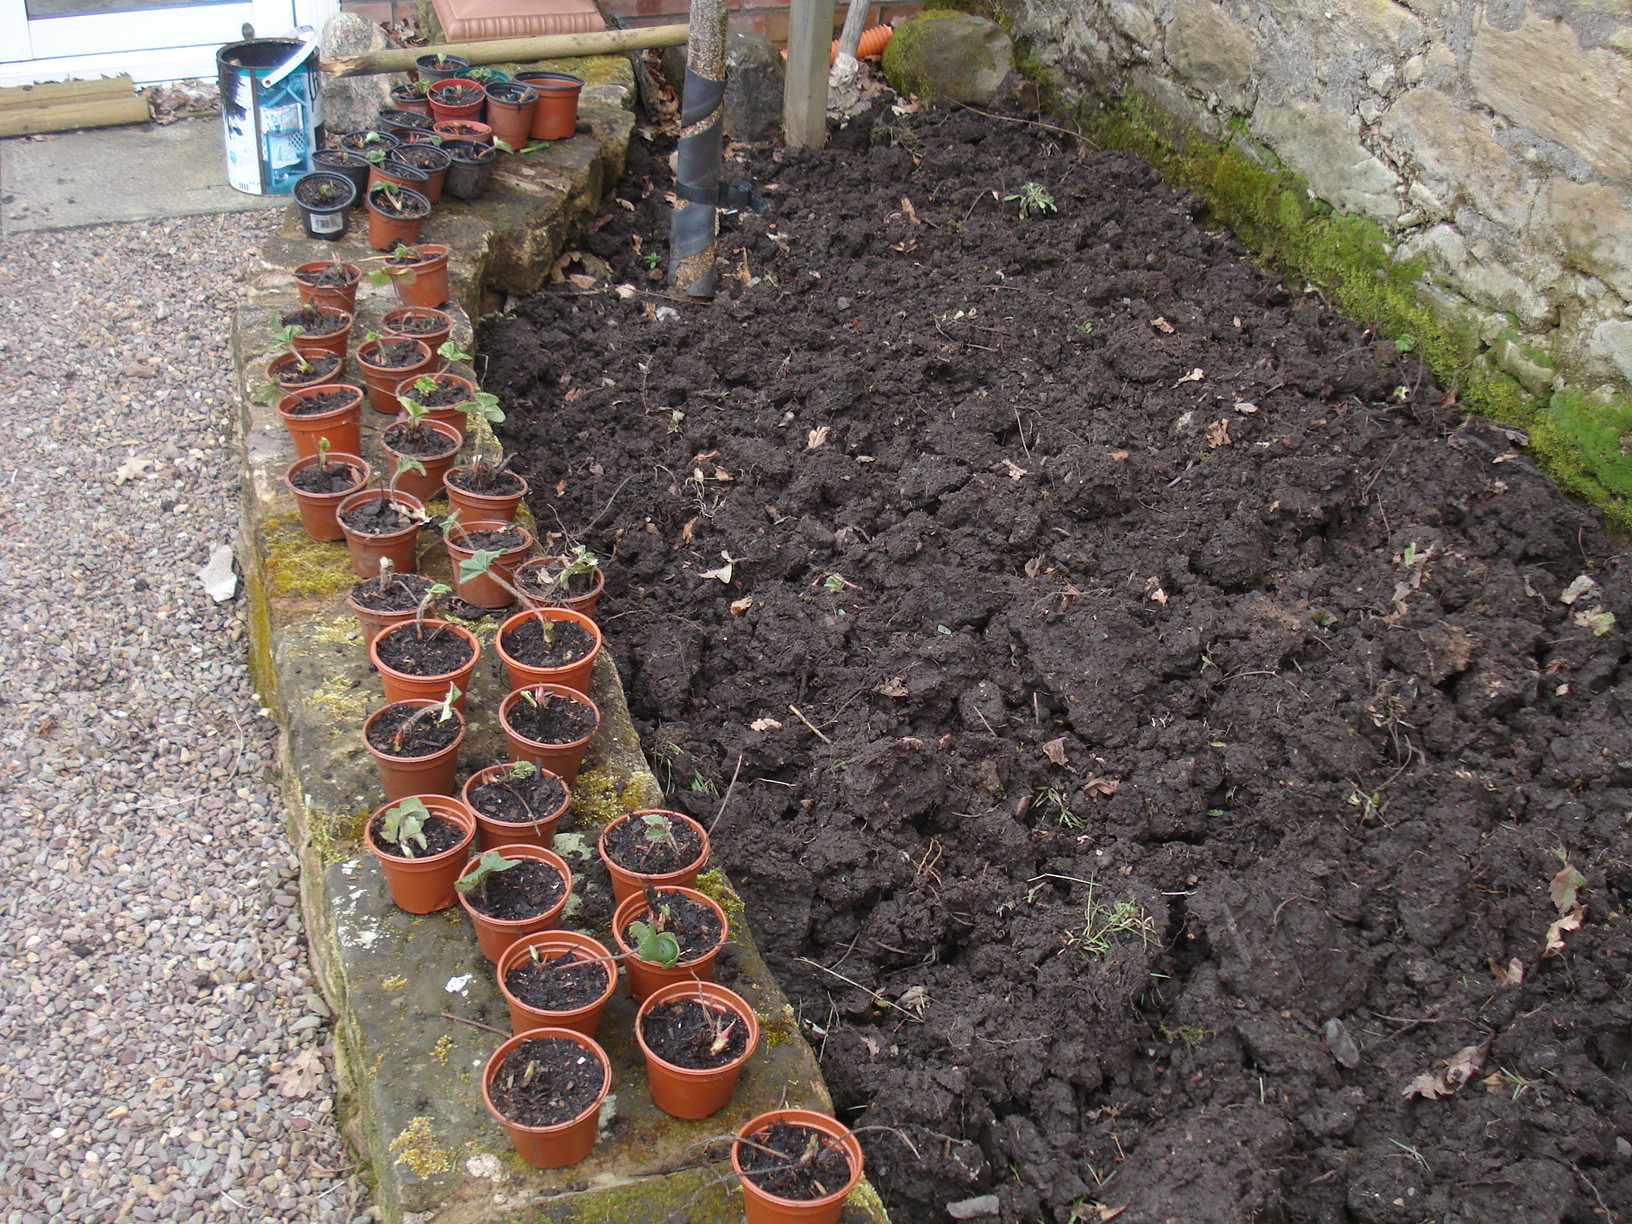
We decided to move them but as the plants were coming to the end of their producing life (they should be replaced every three to four years) we simply tried to catch as many runners as we could to supplement new plants.
So last weekend we dug up the runners. There were quite a few but none that looked particularly healthy so Mr Mac went off to the shop and bought 18 new plants.
We had an old cold frame which had been made from our old front door and some lengths of wood. Some of the glass had smashed and it was lying empty so we decided to take the door off and tidy the surrounding area.
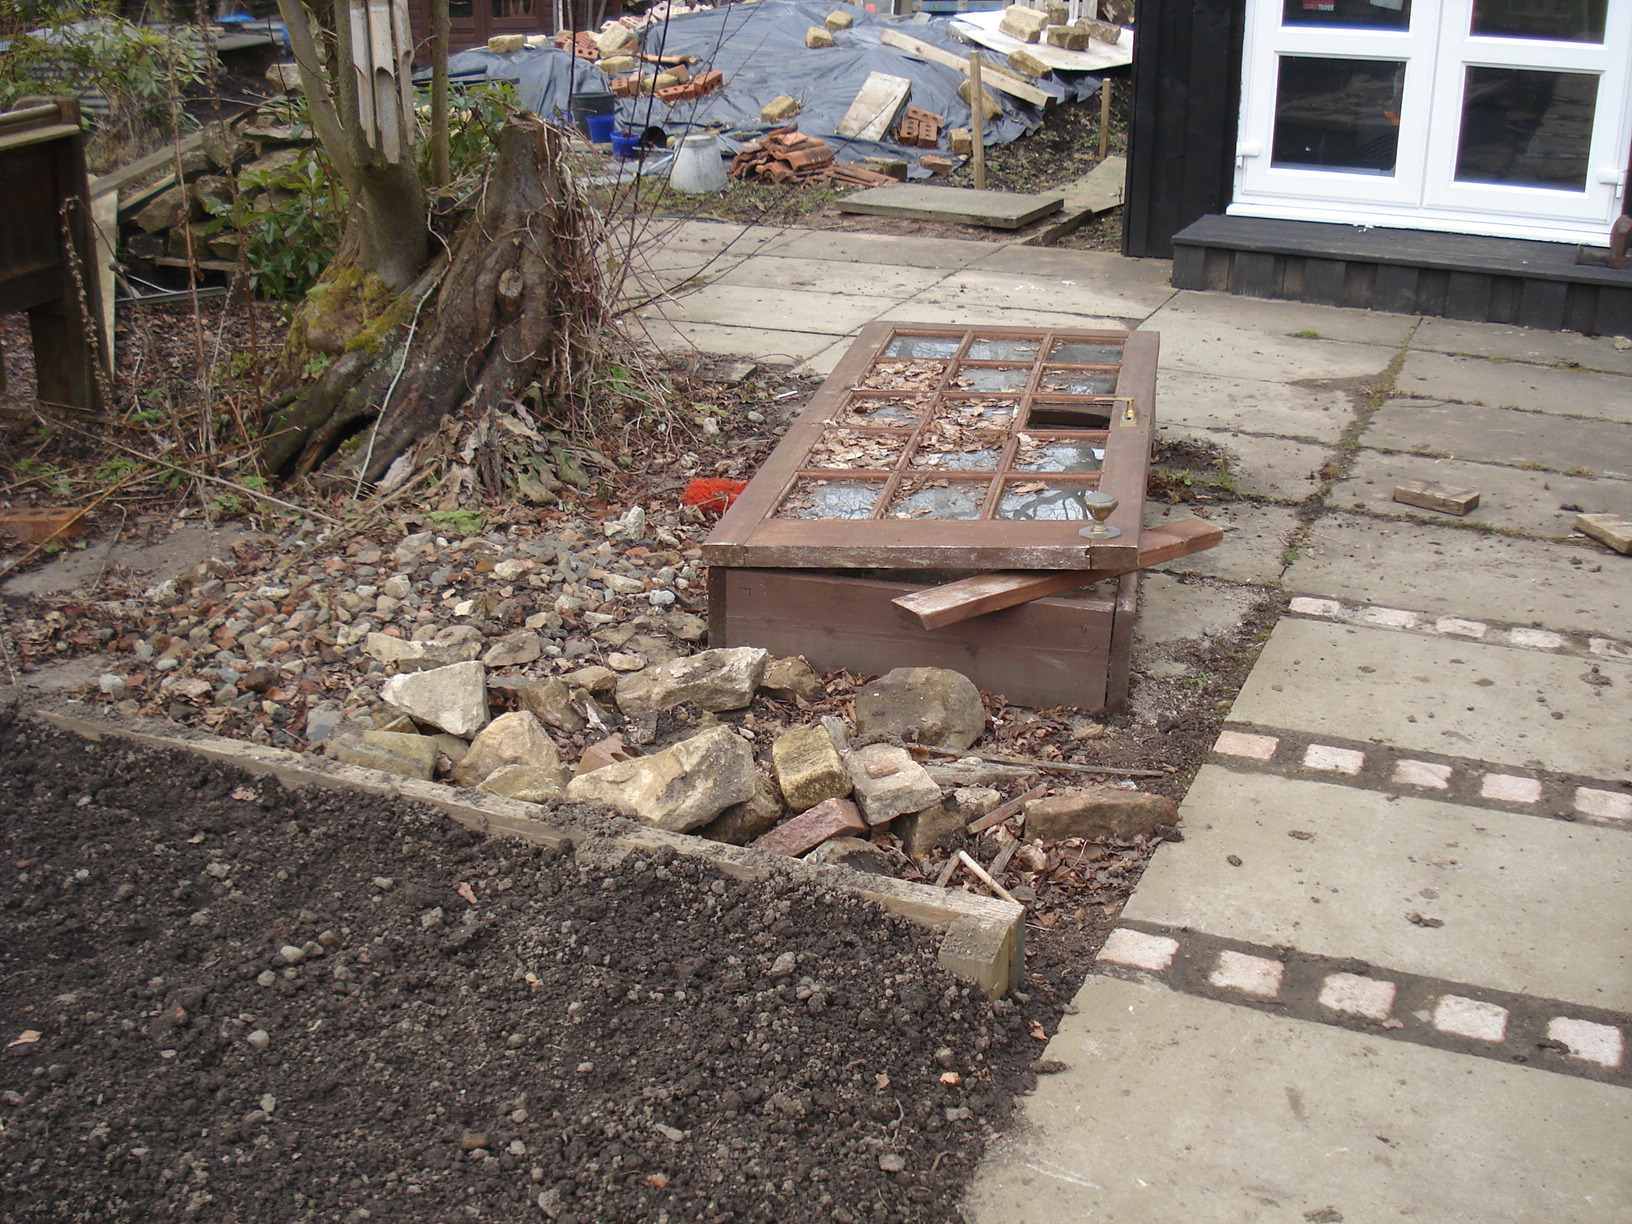
The old cold frame which was to become the new strawberry patch.
We filled it with stones for drainage…
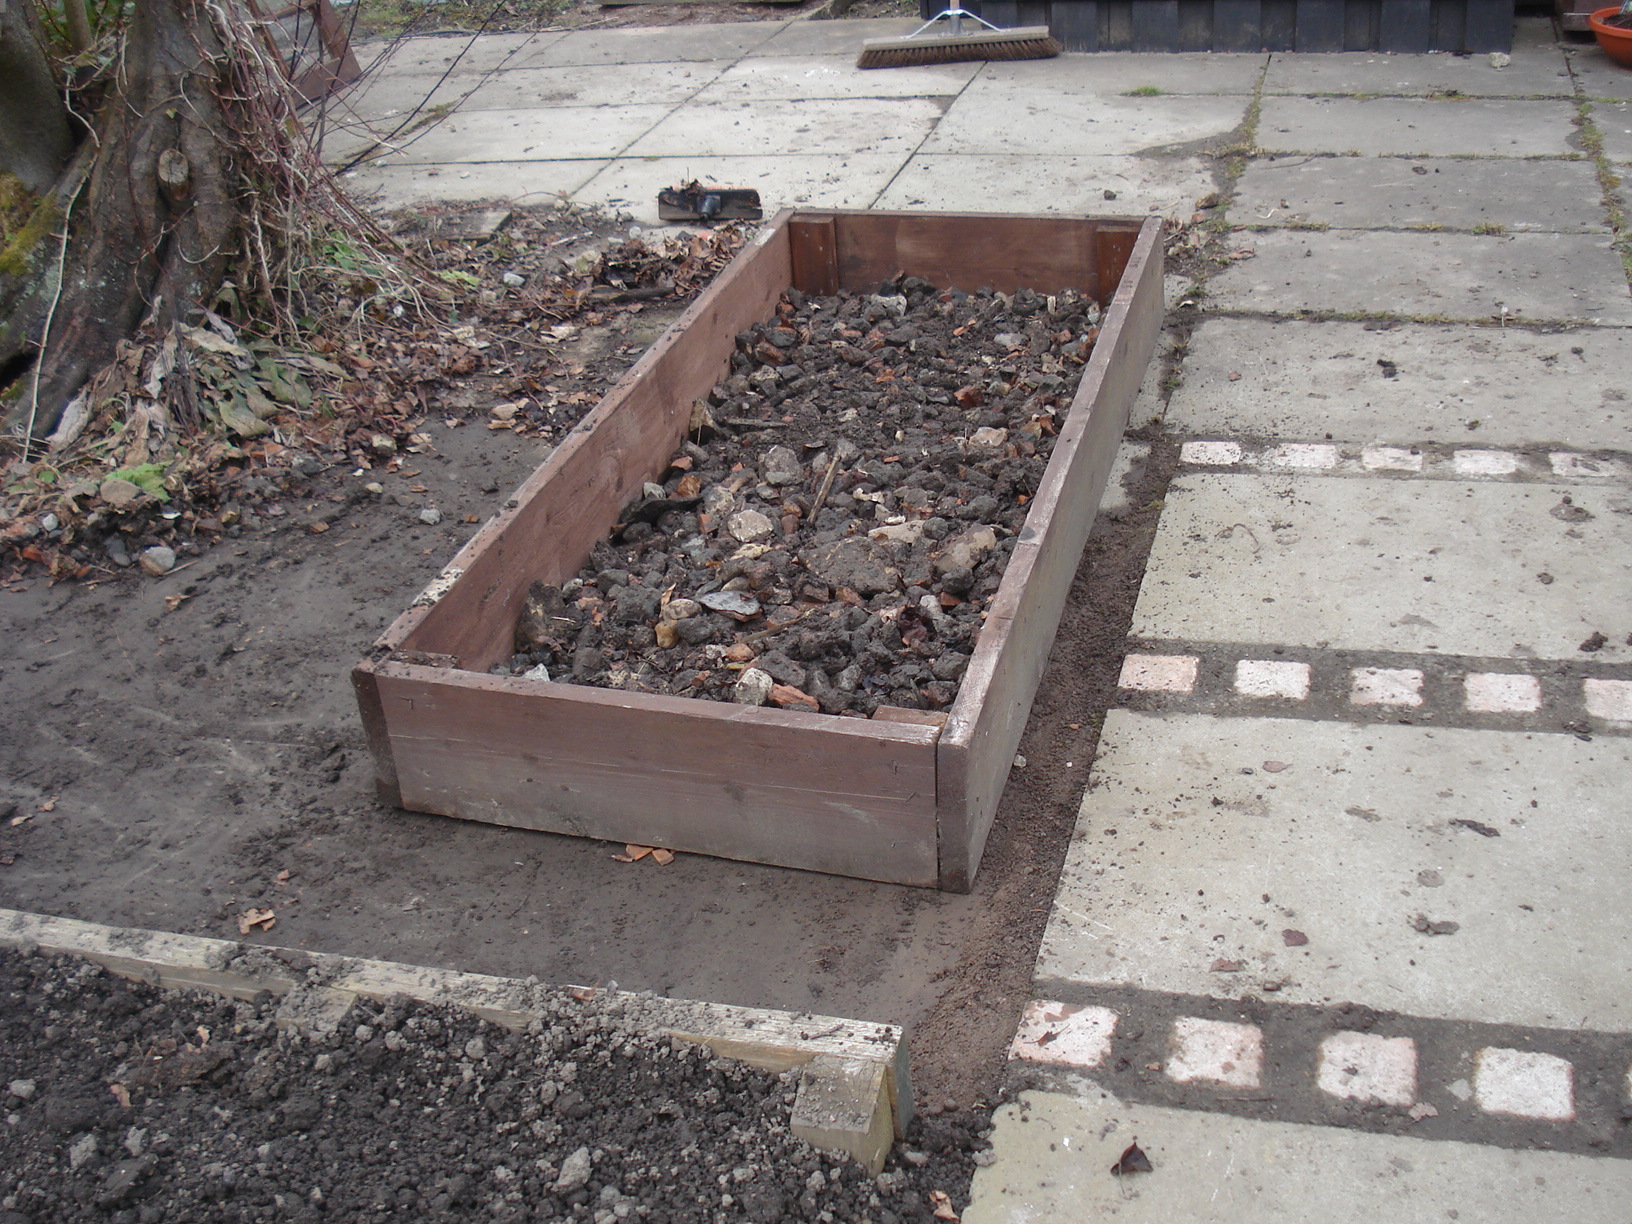
then topped it up with compost…

and covered it to warm up the soil.

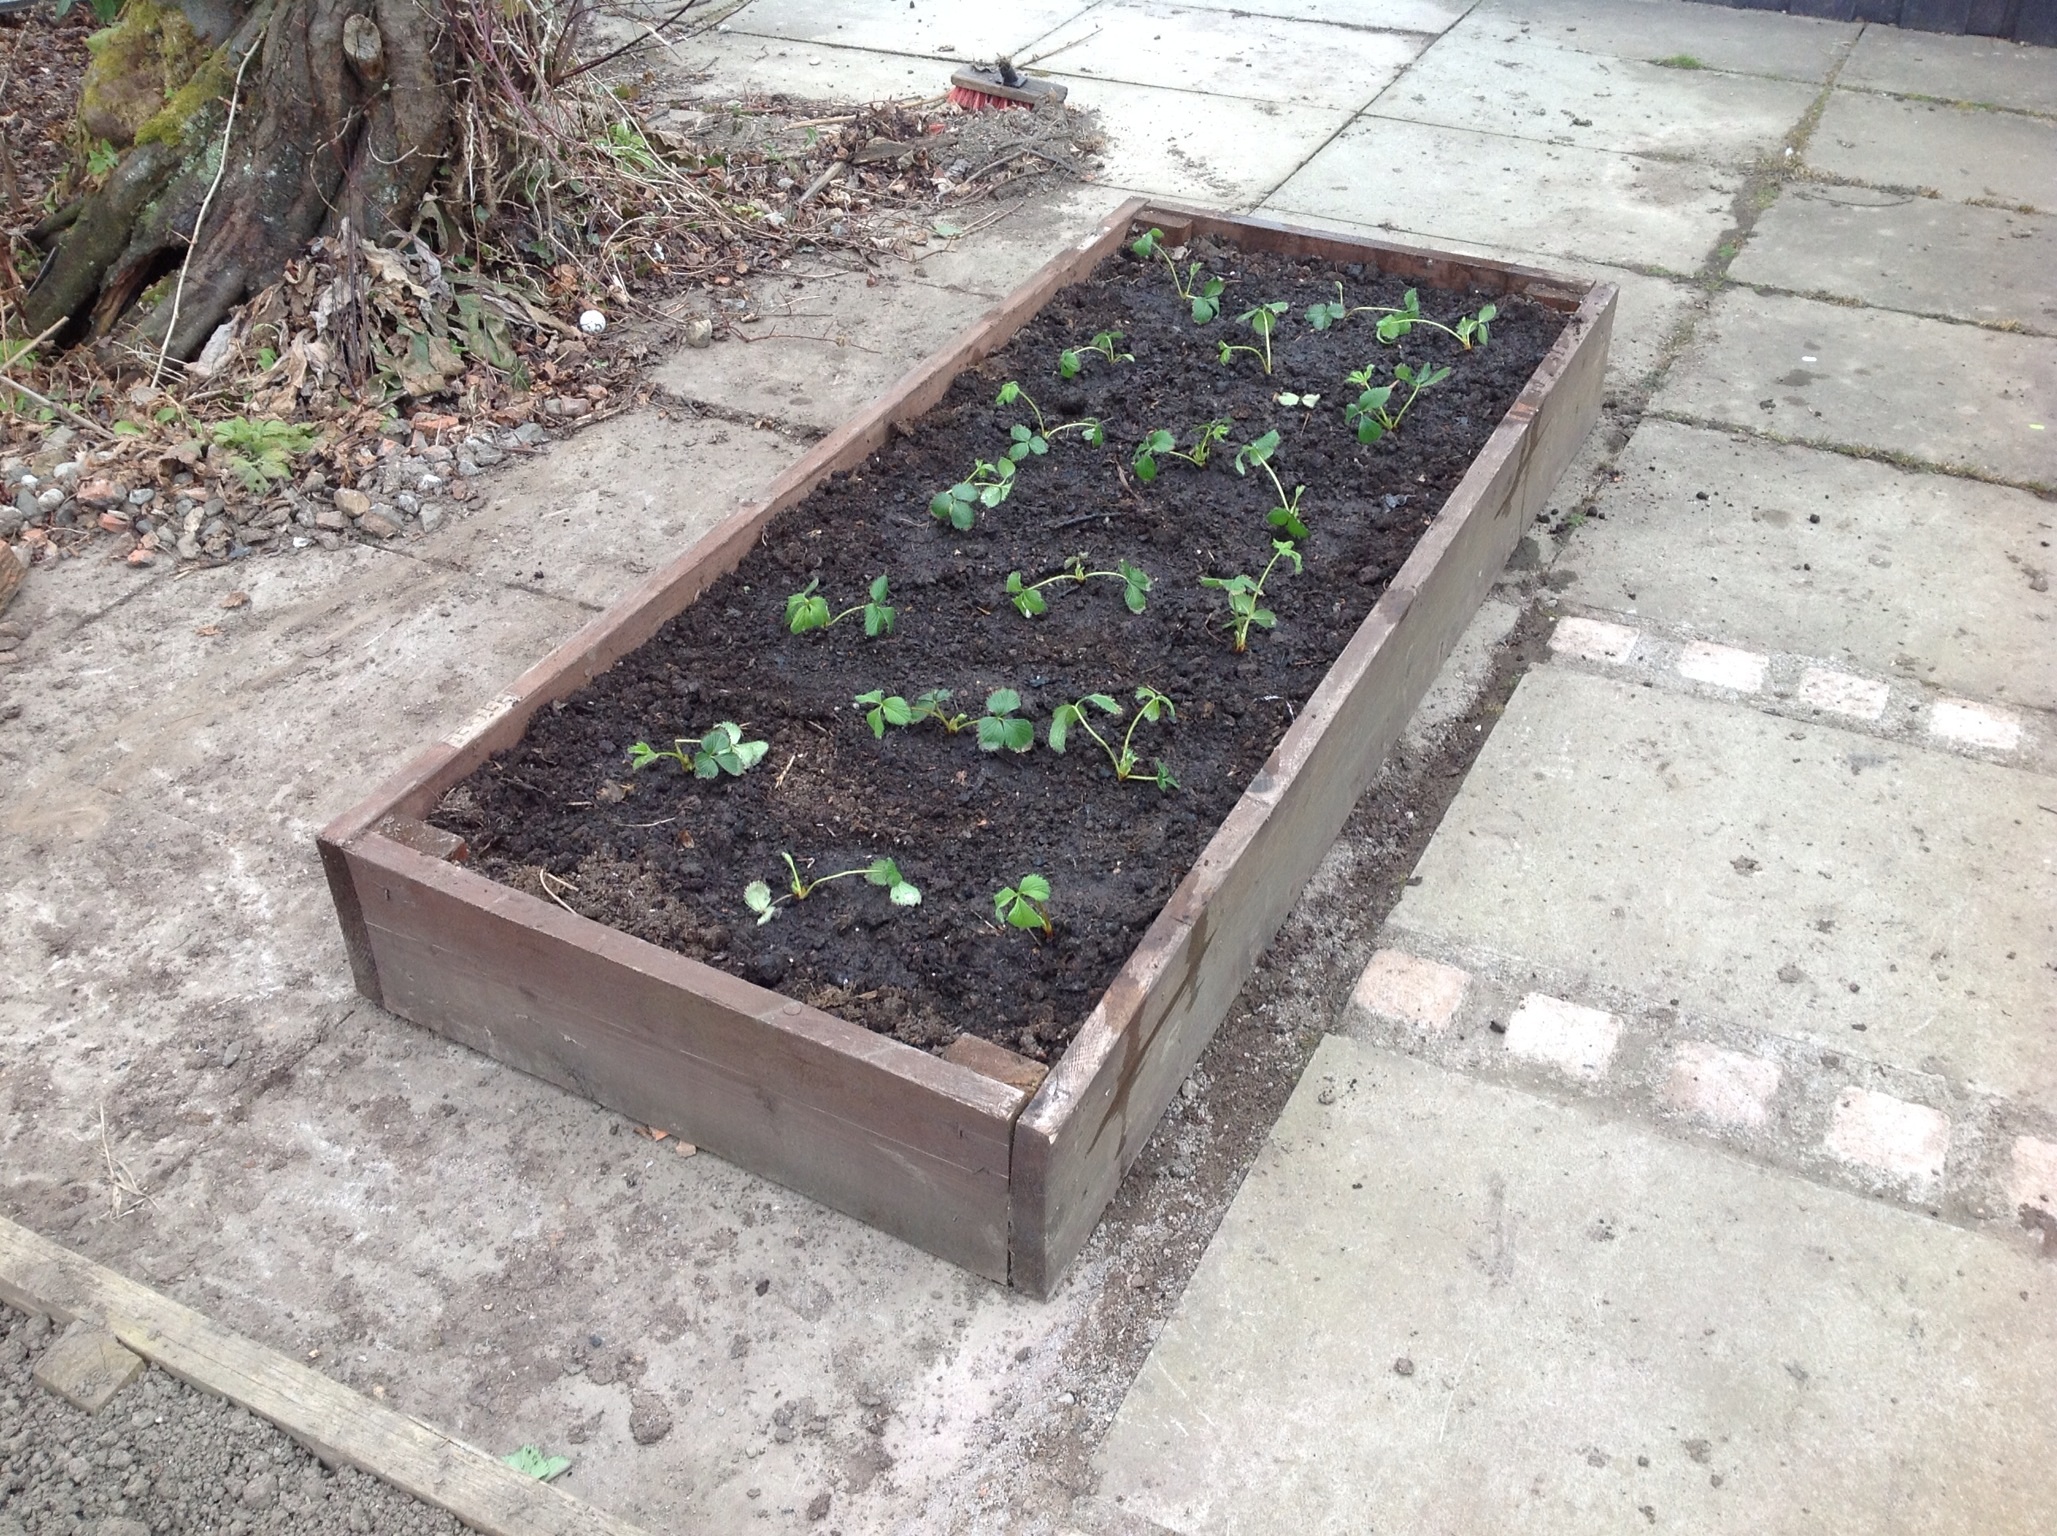
At the weekend we planted the new plants. All Elsanta variety as we found these to be the best, we will get some straw from Rob the horse next door to sit them on and Mr Mac planned to craft a cover to protect them from birds.
However, it was too late. Look what happened!

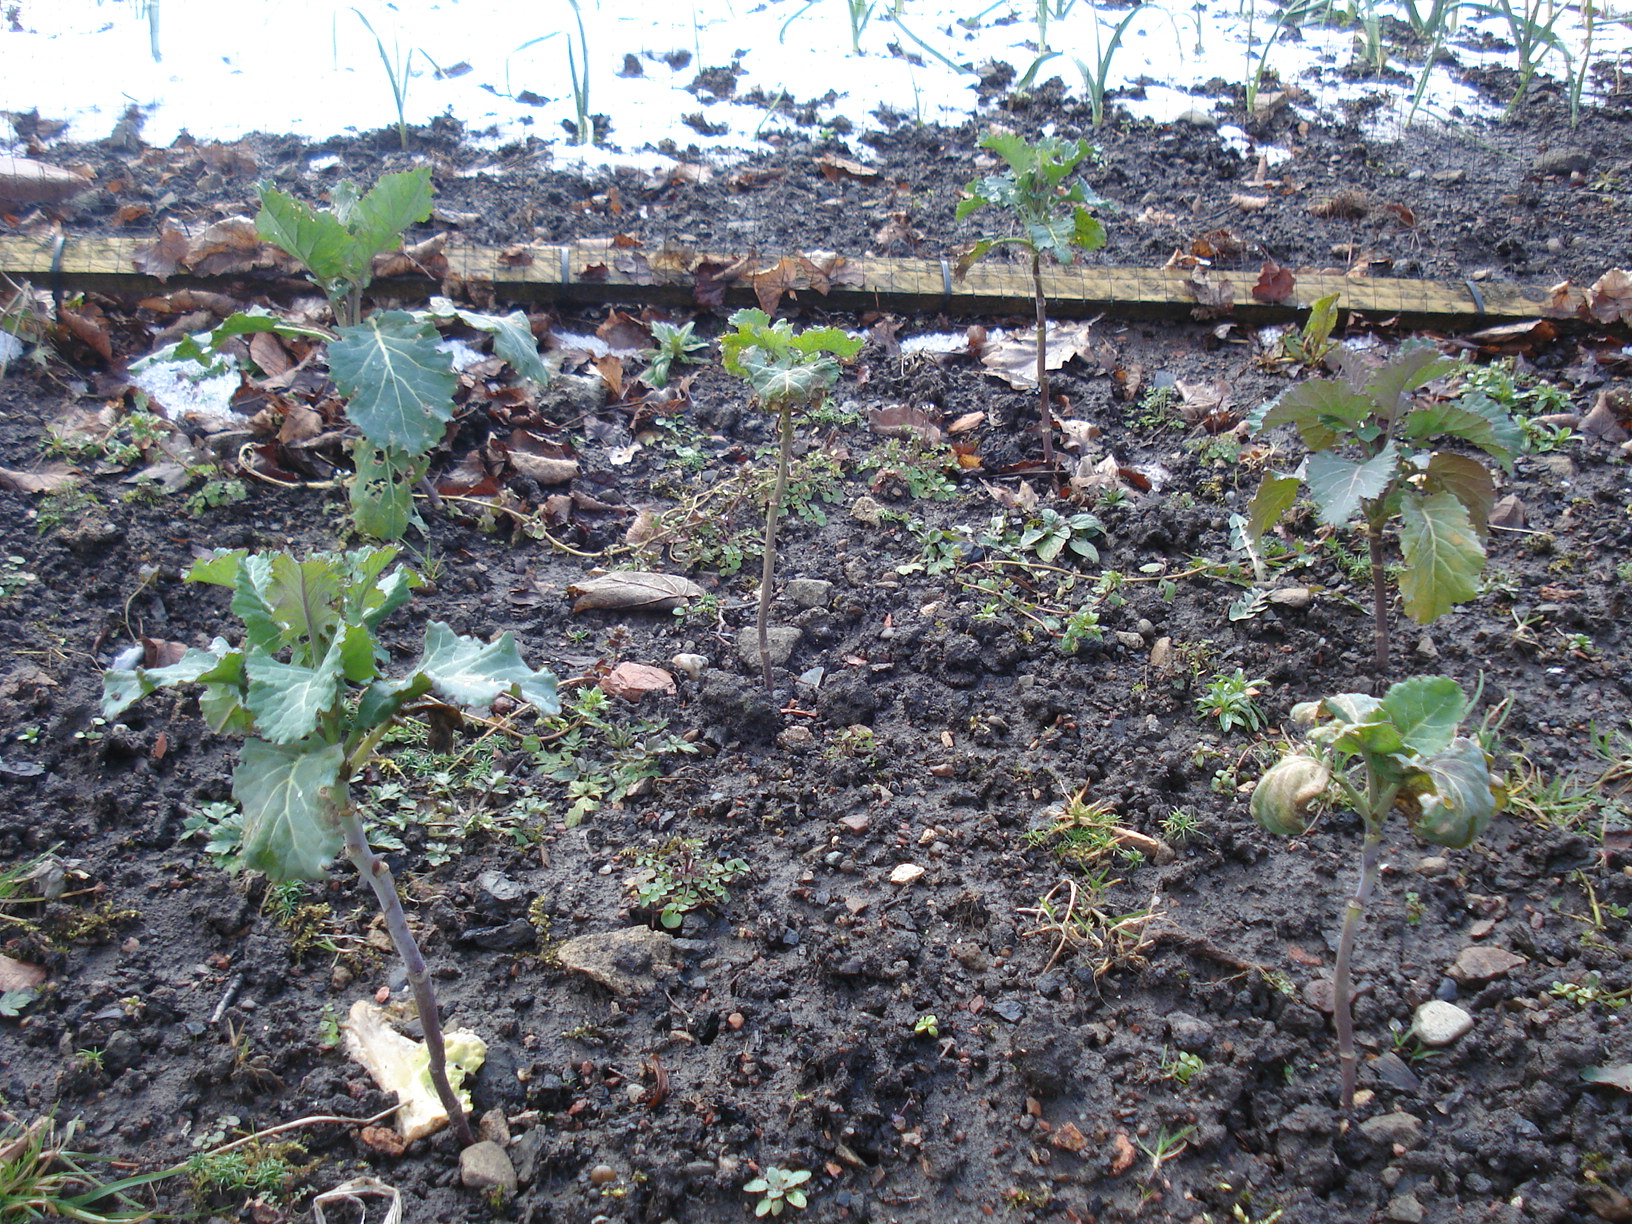
Something has been getting into the garden, scratching up the grass and eating the tulips. They also have a taste for strawberry plants! It just seems to be the leaves that they have eaten and the centres and roots seem to be ok. We were not sure whether it was deer, squirrels, pheasant or pigeons. But yesterday morning Mr Badger was seen leaving our garden in the early hours.
So Mr Mac has created a protective cover! Fingers crossed they will recover.

So here are some hints and tips for growing strawberries:
- Choose a sunny sheltered spot with fertile, well-drained soil with plenty of well-rotted organic matter worked in.
- Plant them 18 inches apart or in a raised bed with deep, rich soil they can be planted 12-15 inches apart.
- Apply potash every spring.
- Once the fruits form spread straw or synthetic strawberry mats between the plants to protect the fruit from dirt, damp and mud splashes.
- Protect the fruit from birds.
- Plants crop well for 3-4 years after which they are best replaced with new young plants in a new location.
- Try raising new plants from runners – the stems produced by the plant to regenerate itself. Peg down the runners into pots of seed compost. Once the runners have rooted snip the “umbilical cord” connecting them to the parent plant and grow them on in a cold frame until they are ready to plant.