While Mr Mac was busy digging, splitting and relocating irises and crocosmia earlier this week I was in need of something to make me look “busy” so I did not have to help him. To give you an idea of how much I really did not want to help him I decided to tackle my pot mountain……the pile of used pots accumulated over the summer of 2012 that had formed a heap where they had been thrown out of the greenhouse when their purpose had been served.
I think I even mentioned in my Jobs for February blog that it was the prefect time to wash and clean pots yet here we are at the end of April and mine were still untouched, caked in soil, providing the slugs with a comfy winter hotel.
I was so desperate not to wash the pots that I had even offered to pay some of my friends children to do it for pocket money during the Easter holidays but apparently the youth of today don’t need money!
I set about sorting through the pile, throwing away broken pots, trays and modules that were beyond saving and ended up with a nice, neat, tidy pile.

A tidy pile of pots ready for washing
So yesterday when the sun was shining I got my chair, my scrubbing brush, a tub of warm water with some washing up liquid and bleach in it and another tub with clean water for rinsing….and set about scrubbing.
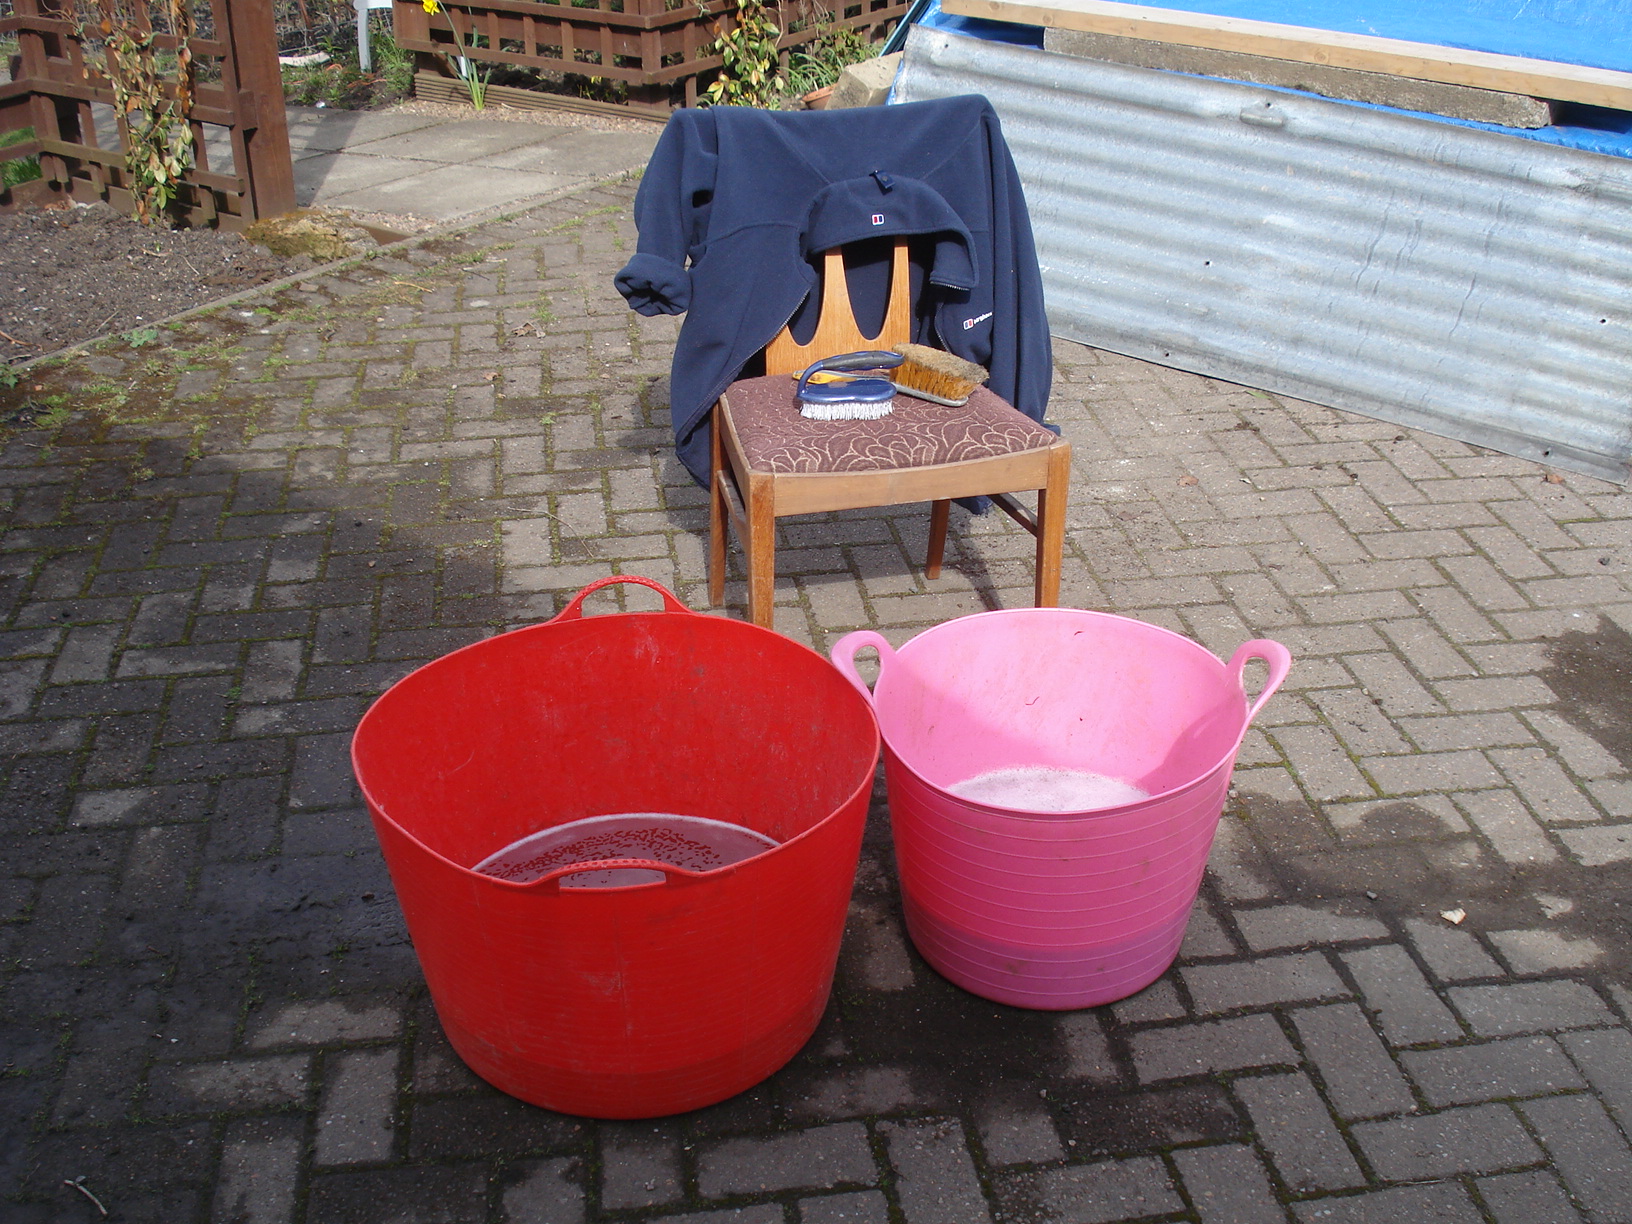
All ready to get scrubbing!
I did not get them all done, but the smaller pots I need for potting on seedlings are all clean and ready for use. The larger pots can wait for the next sunny weekend!

Clean pots drying in the sunshine
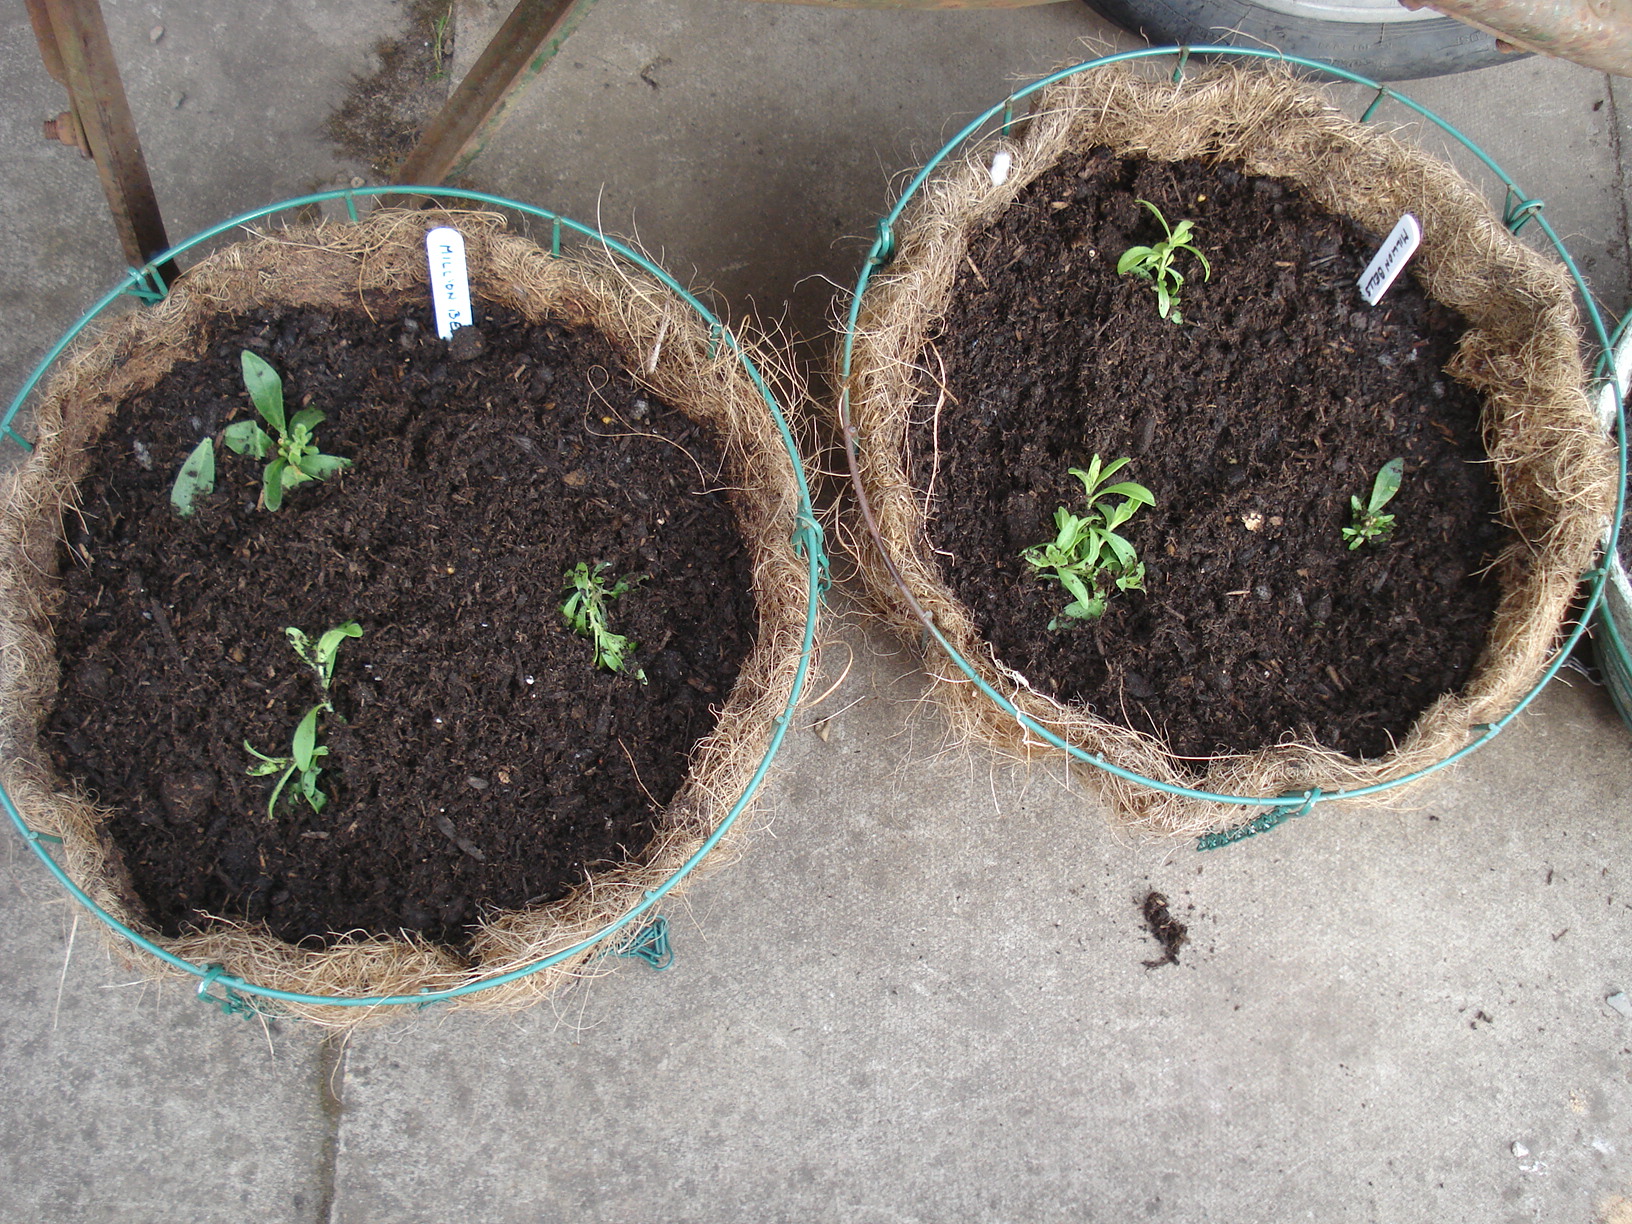
On Friday I had a delivery of “Million Bells” plugs that I had ordered for my hanging baskets. I read an article recently about planting plugs directly into pots and baskets if that is where they will ultimately end up, so as these were all destined for hanging baskets I decided to plant them up. There were six each of lemon, fire crackle, blue, deep pink and white so I planted the four small baskets with the lemon and fire crackle and the two large baskets with pink, white and blue.
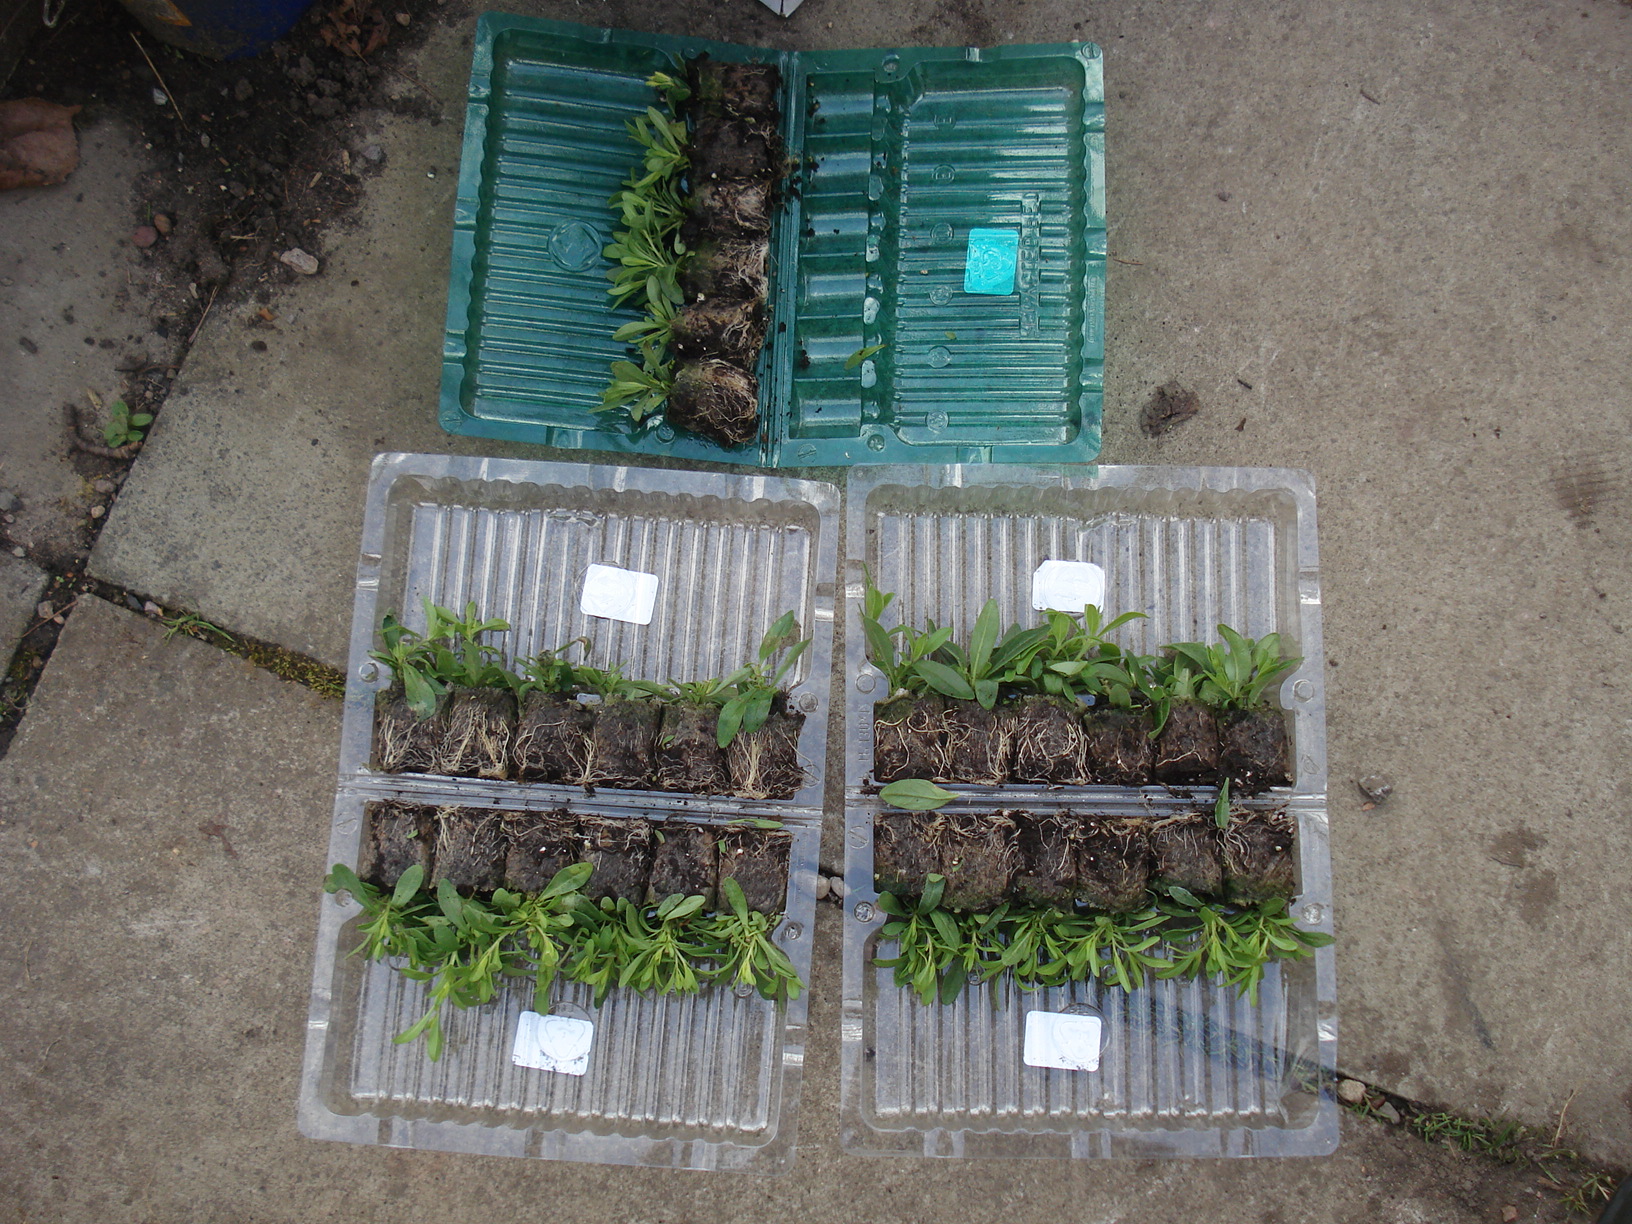
The instructions recommended three plants per 30cm basket so while they look slightly puny at the moment hopefully they will soon fill out. I will keep them in the greenhouse for a couple of weeks and then start hardening them off with a view to putting them out by the end of May.
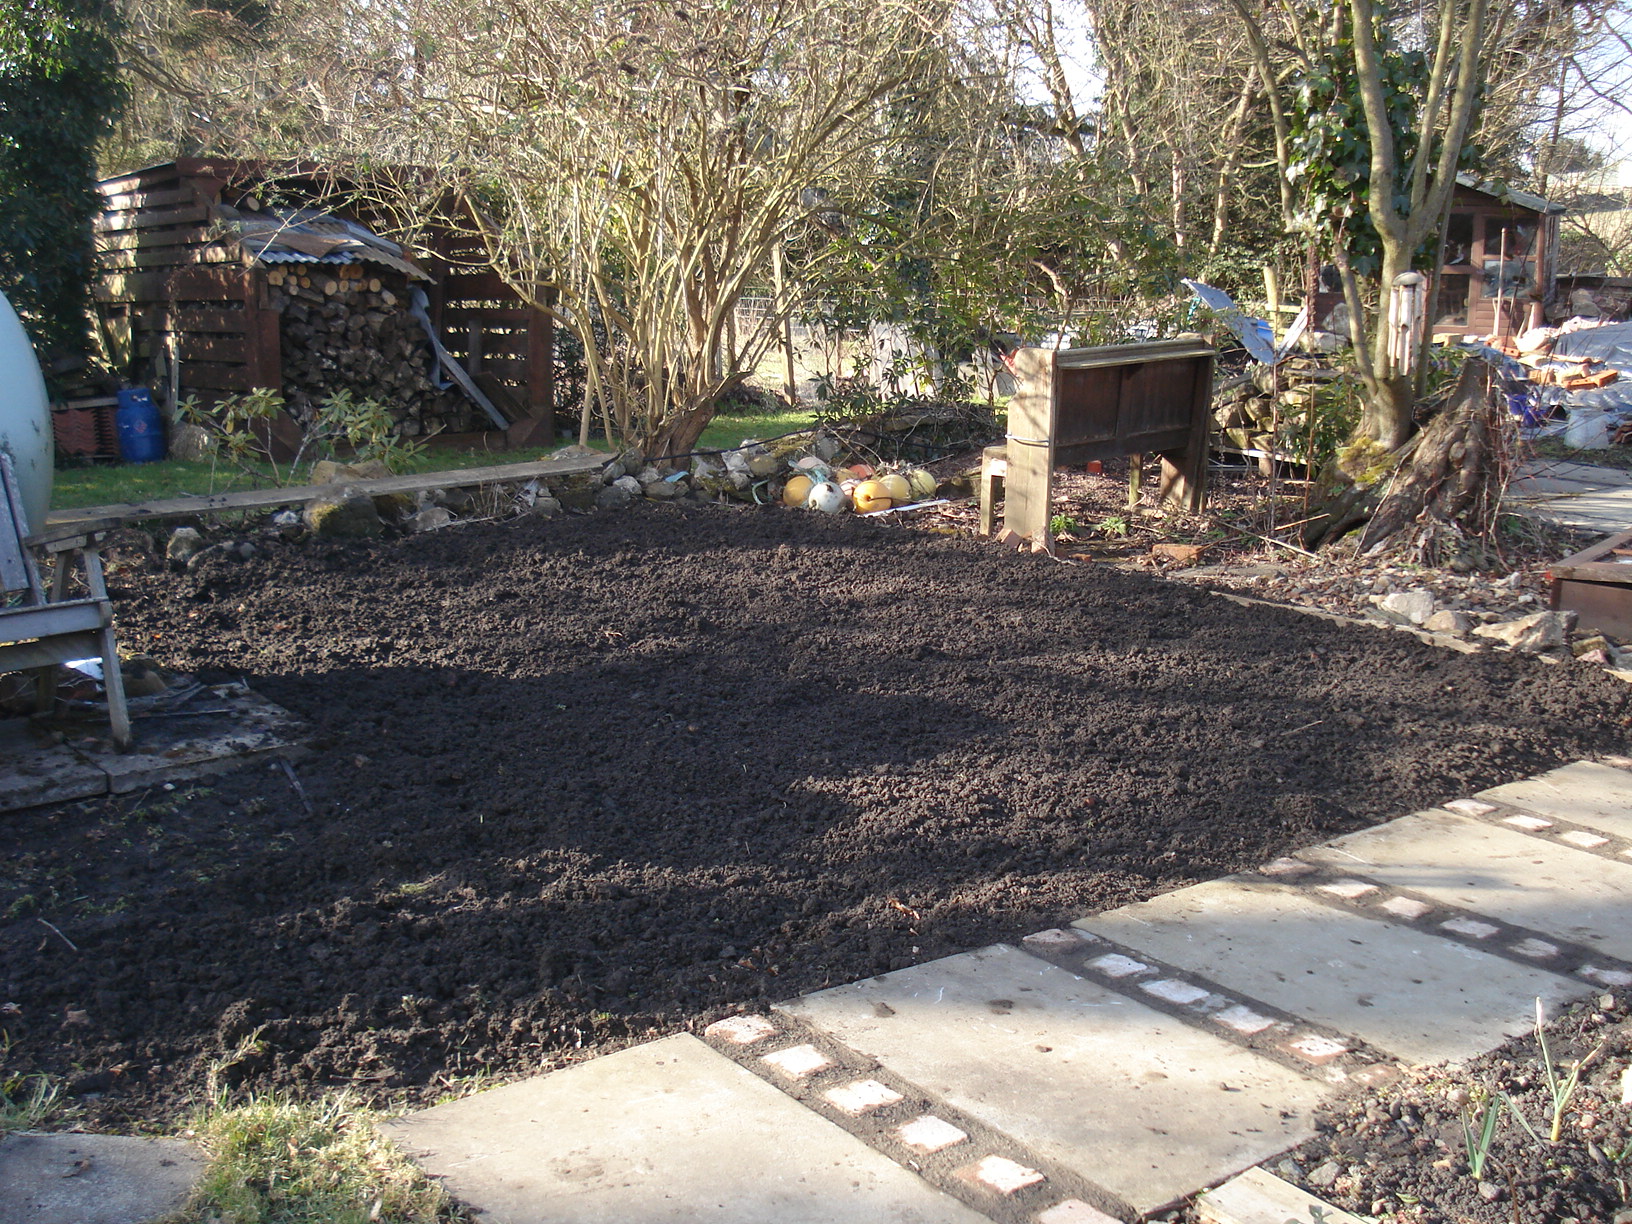
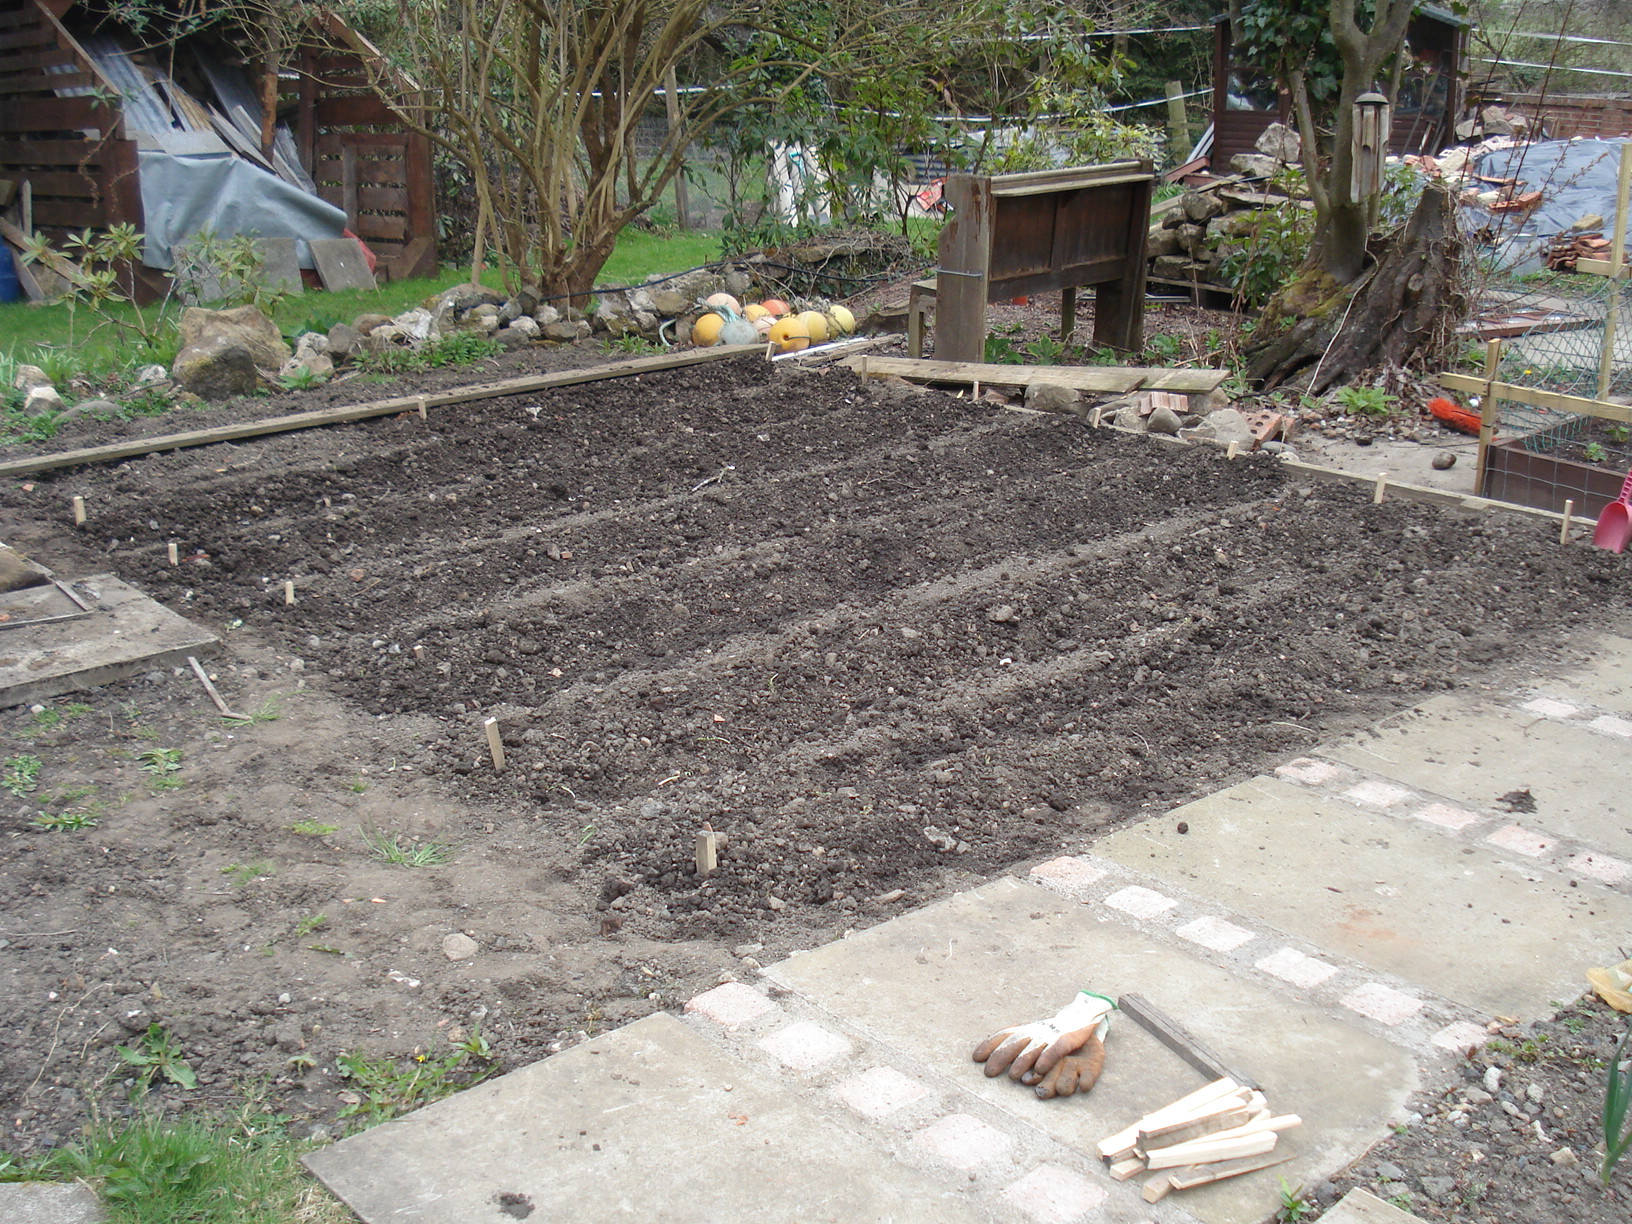
Today the forecast was for rain but we were fortunate enough to have gorgeous sunshine between showers and so we got the potatoes planted.
We planted Maris Piper and Pink Fir Apple varieties and this year we have decided to try growing them in the ground rather than tubs or bags (except the first earlies).
We have been watching Gardeners’ World and Beechgrove Garden on BBC and so did exactly what they did….dig a trench, plant the seed potatoes 12 inches apart and pull the soil up over the top to form a ridge. There has been a lot of talk about the soil being warm enough to plant main crop potatoes but we did not check the temperature and just planted them anyway.
Other than the obvious way of checking soil temperature I heard of another method recently and that is to scrape back some soil and stick your elbow in as if you were checking bath water for a baby. Apparently in Victorian kitchen gardens the way they checked if the soil was warm enough was to pull down your trousers and sit on it with your bare bum! Thank goodness for soil thermometers!

Maris Piper and Pink Fir Apple

Even though the seeds have been in the dark garage rather than on a sunny windowsill, they still have chits!

We set the seeds out in the trench but then dug a hole to put them in so they were even deeper.
All haunched up and ready to grow!
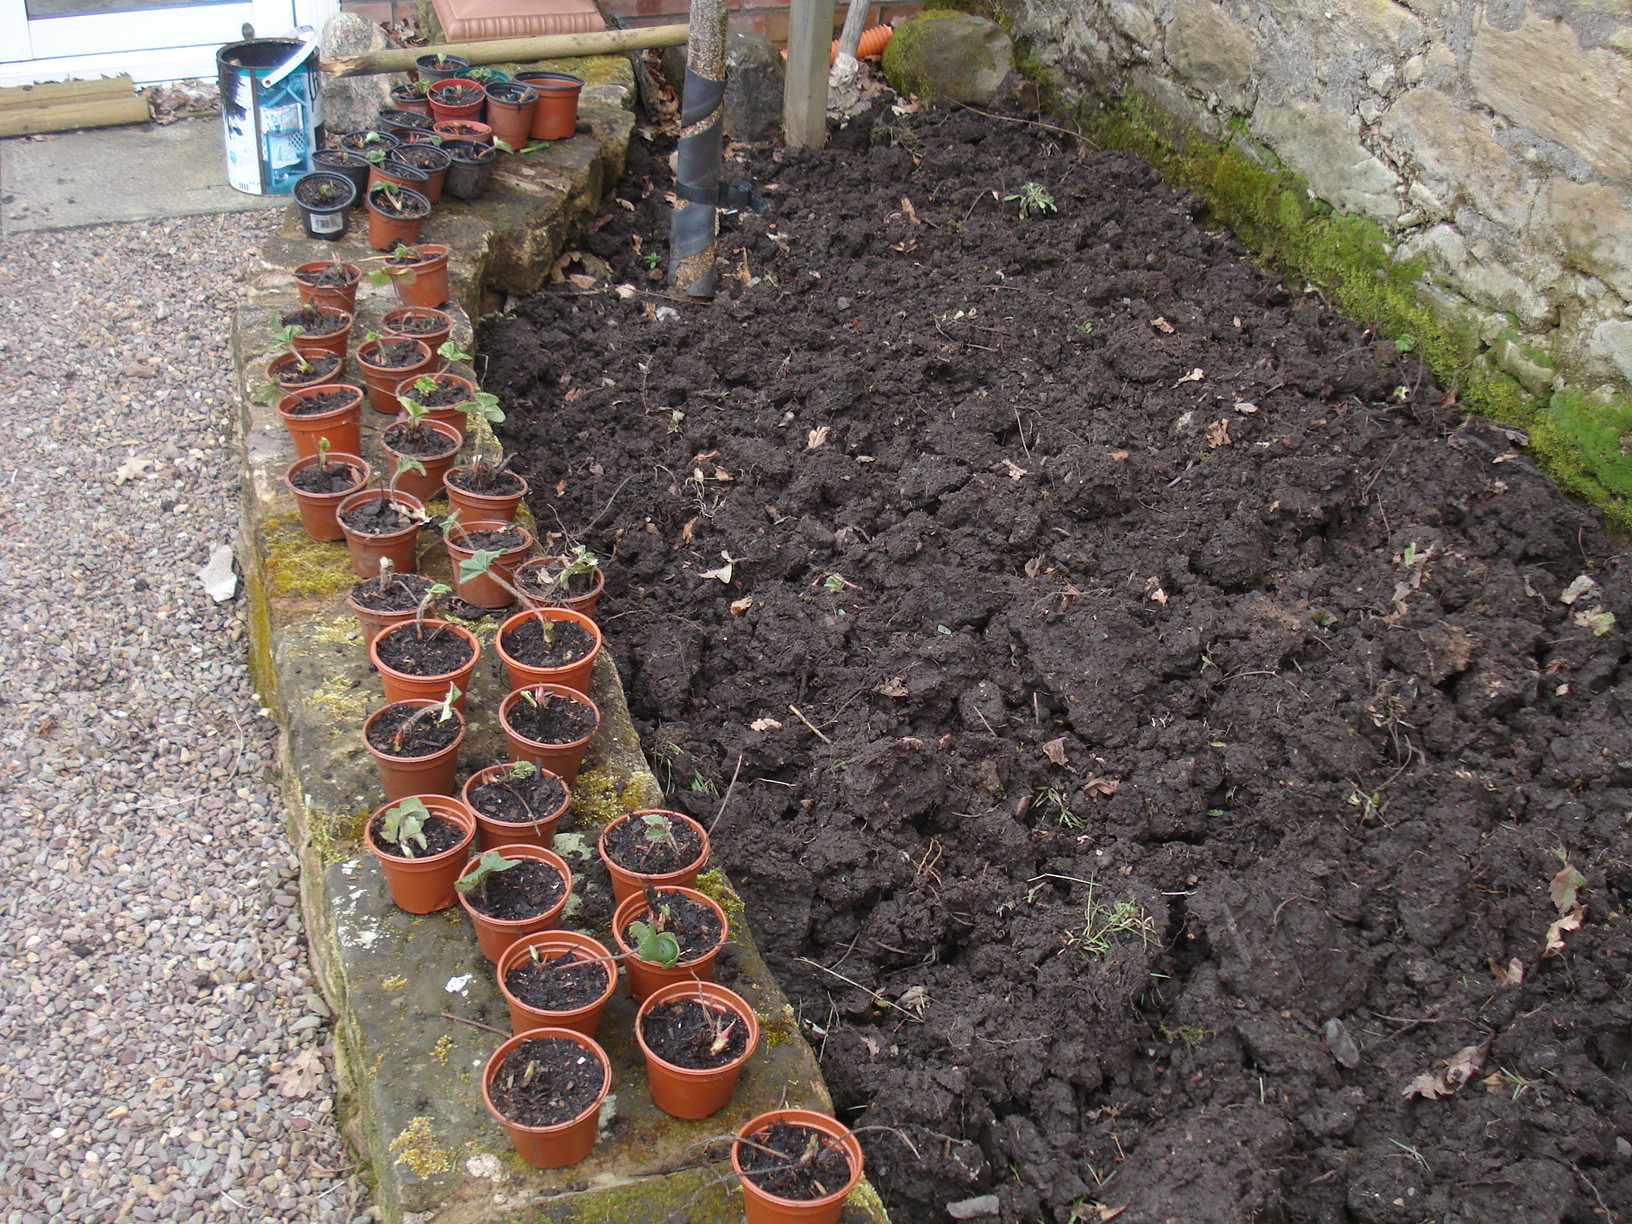
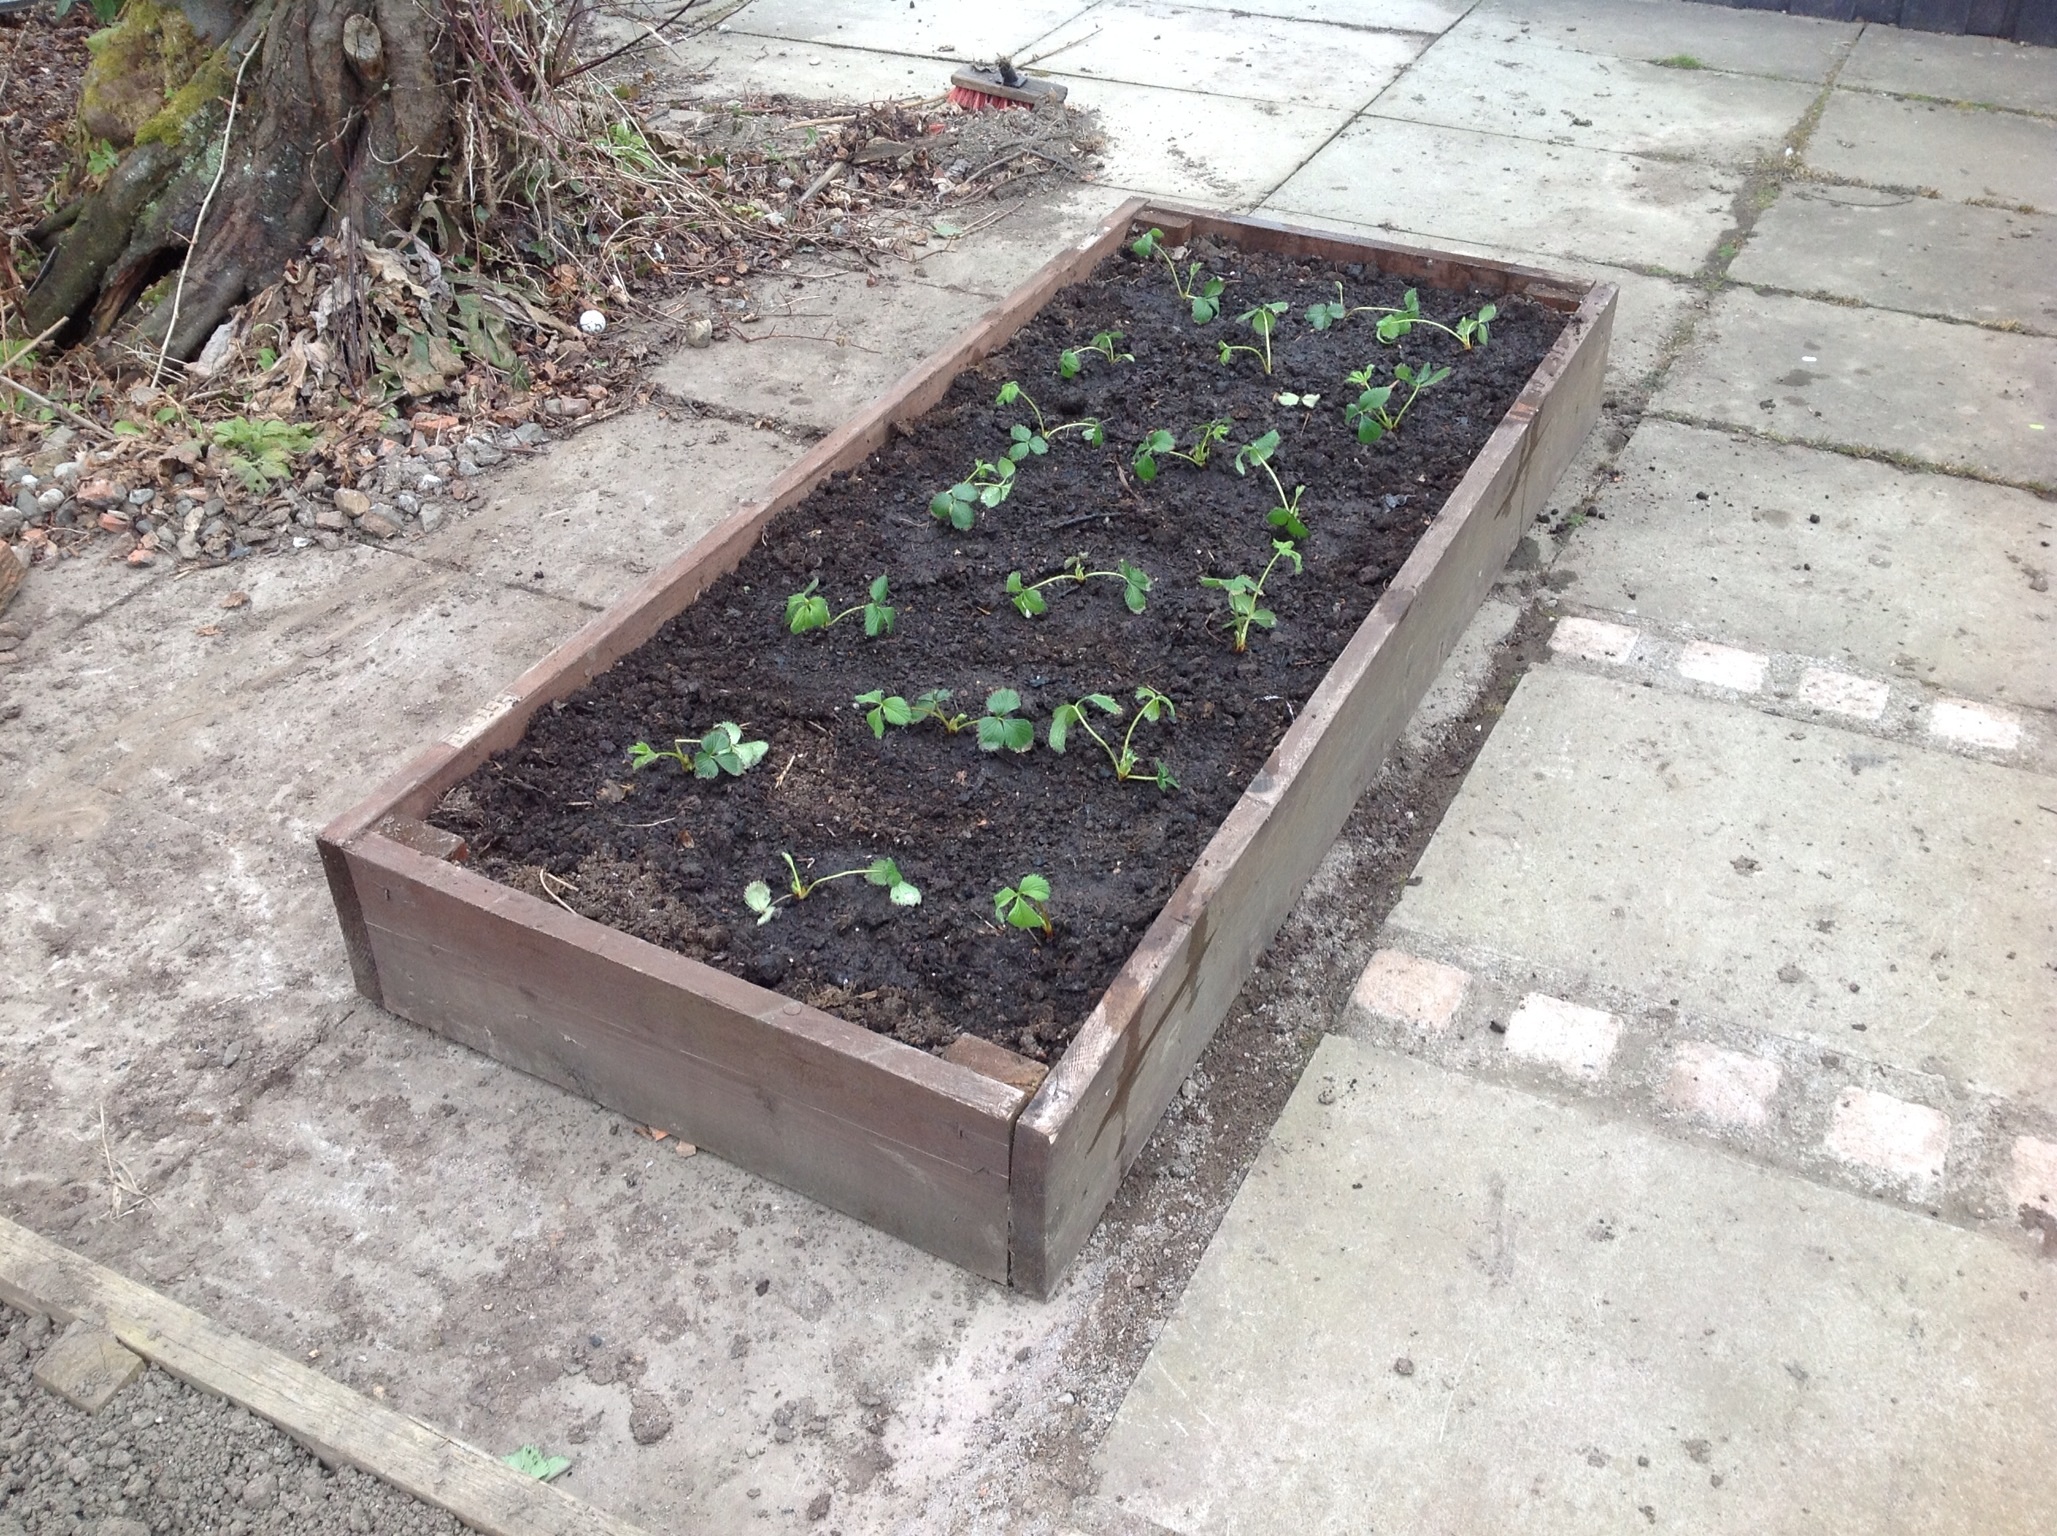
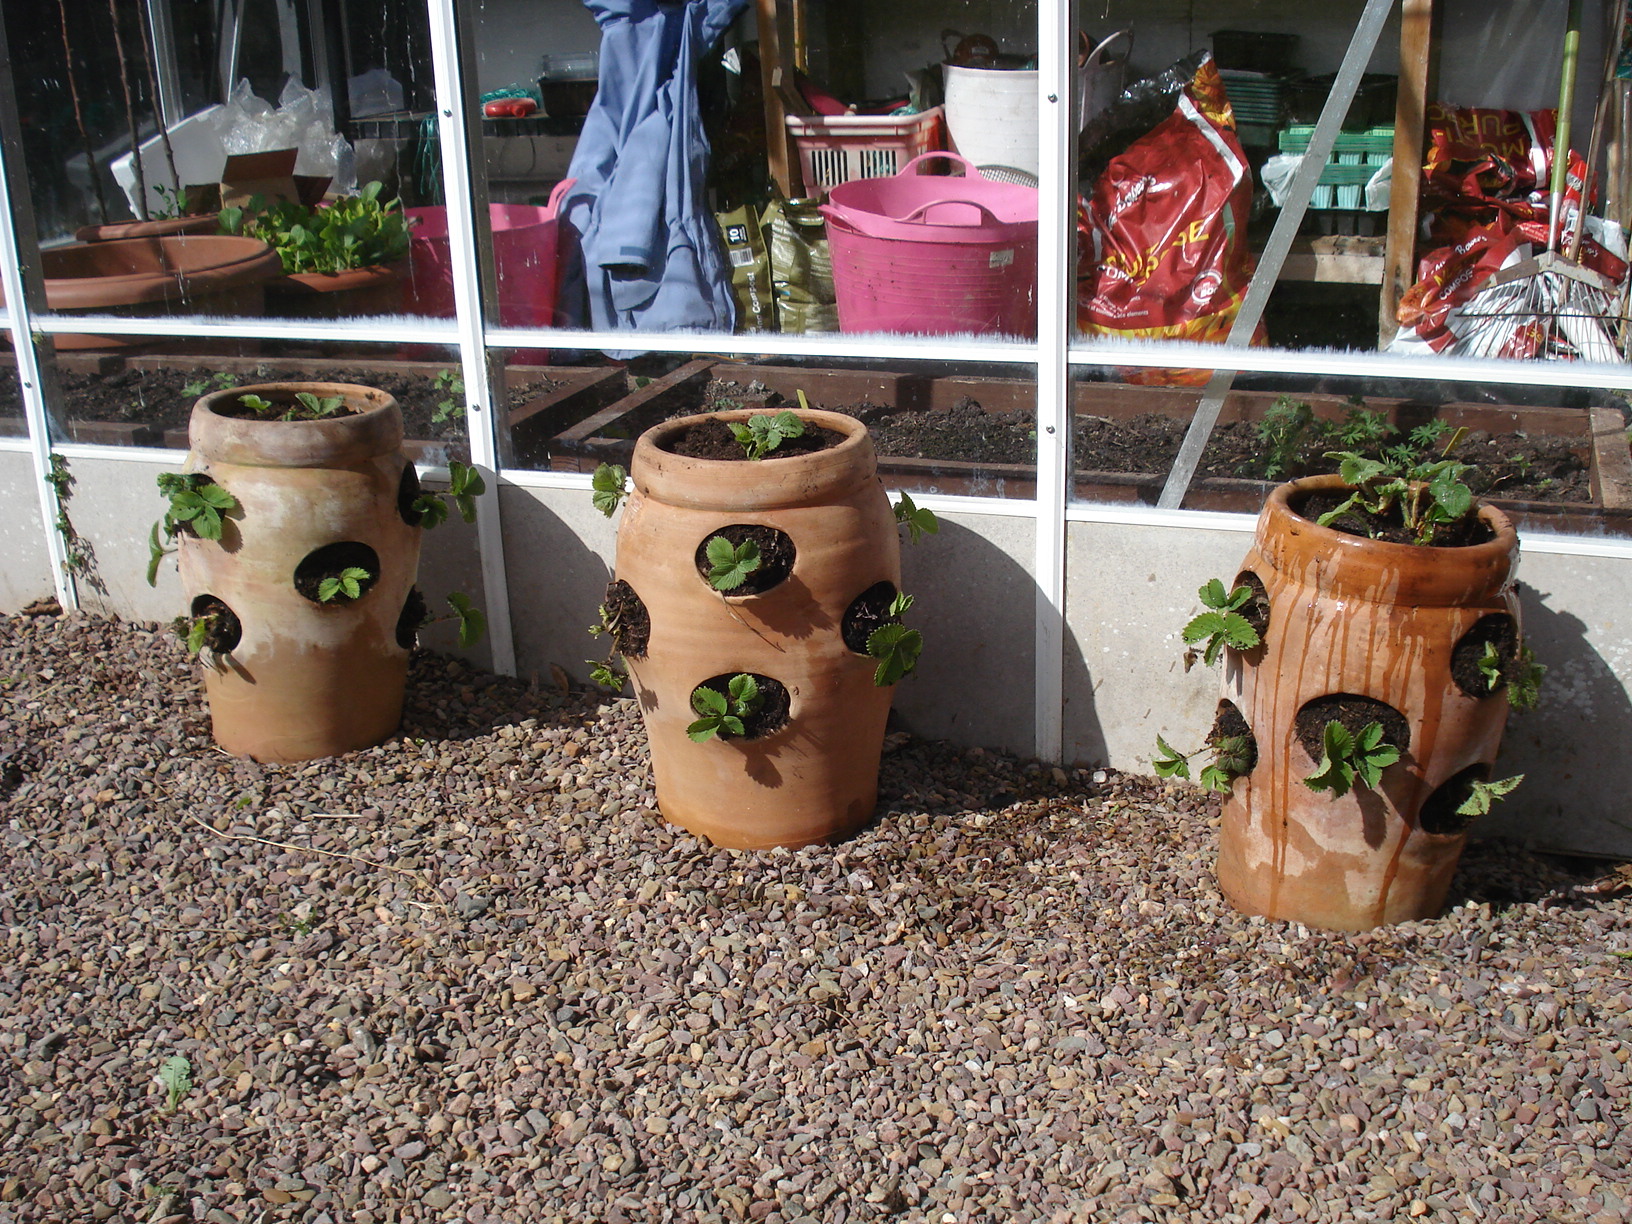
Finally we decided to make the most of the sunshine and planted the garlic (Solent Wight) and the rest of the strawberry runners. We forgot we had some old strawberry pots (yes they were lying under my dirty pot mountain where we could not see them) and so they were given a quick scrub to remove the algae and planted up with the runners from the old strawberry patch.
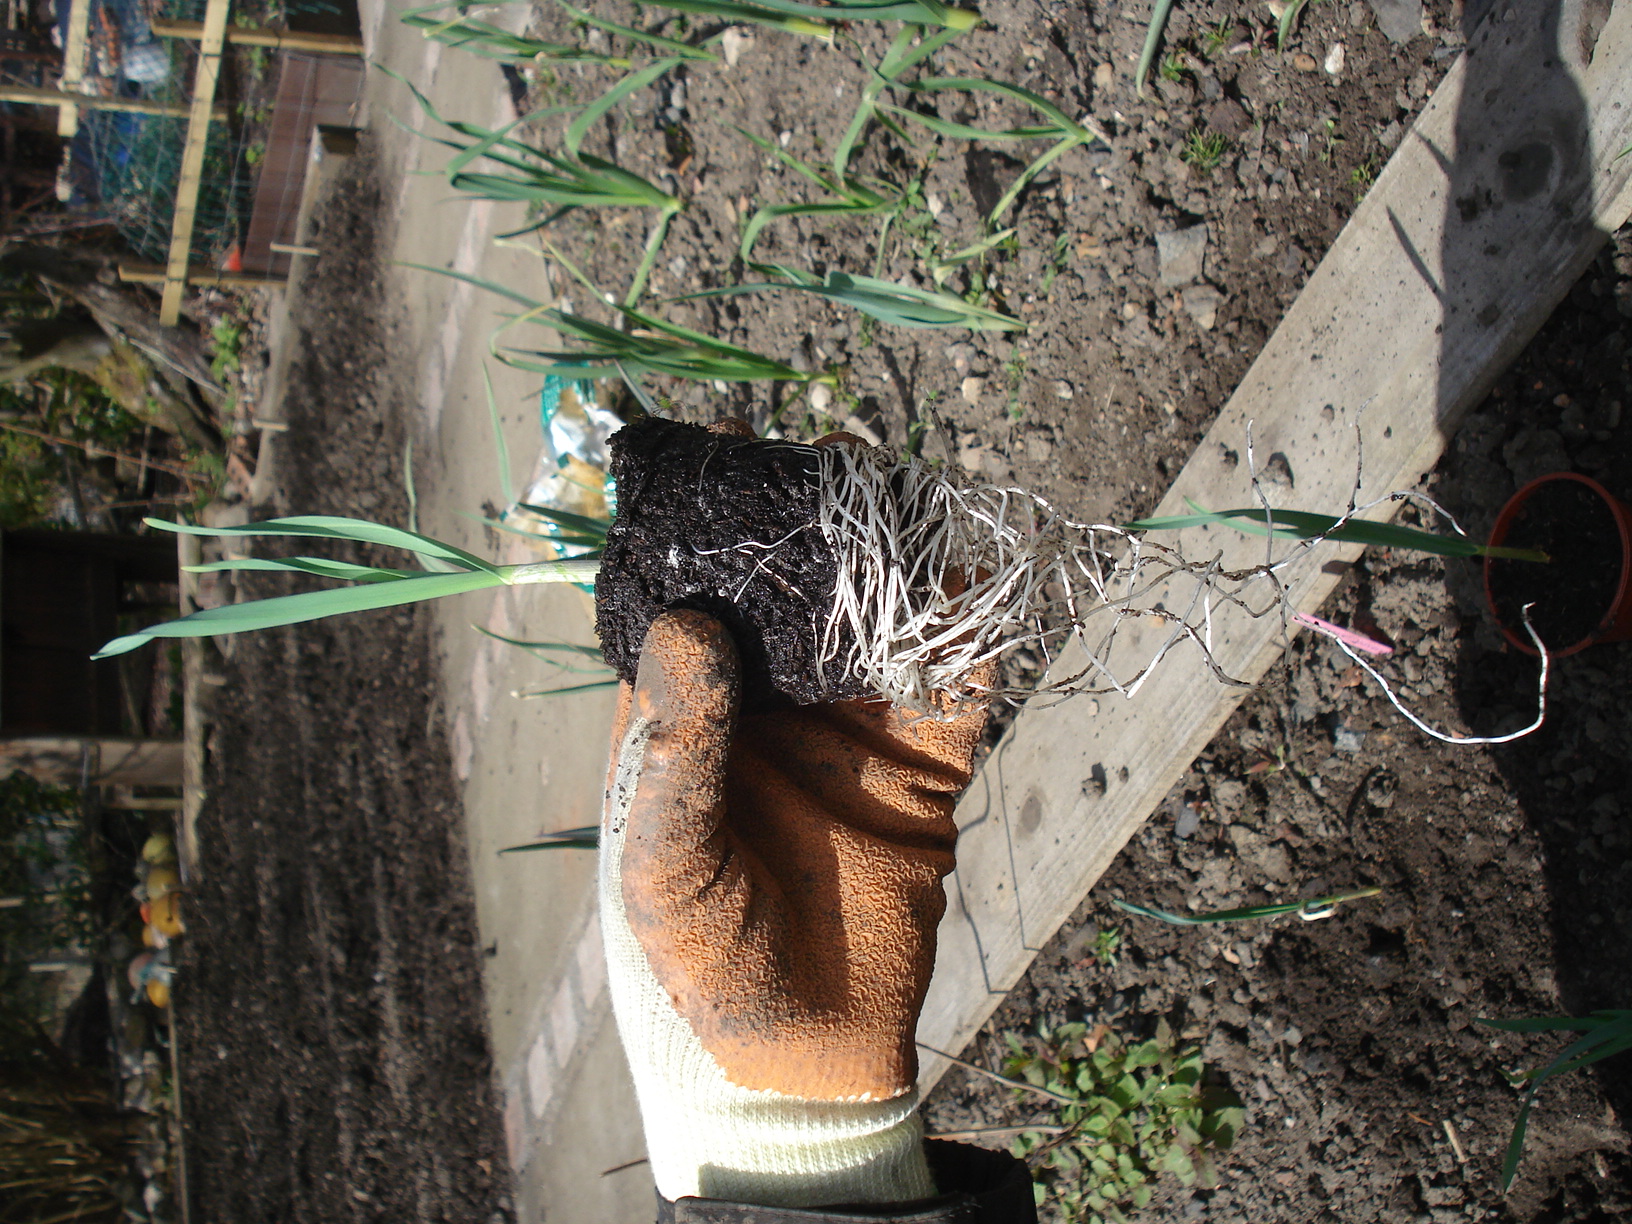
The garlic had been hardened off for weeks but we could not get over the length of the roots.
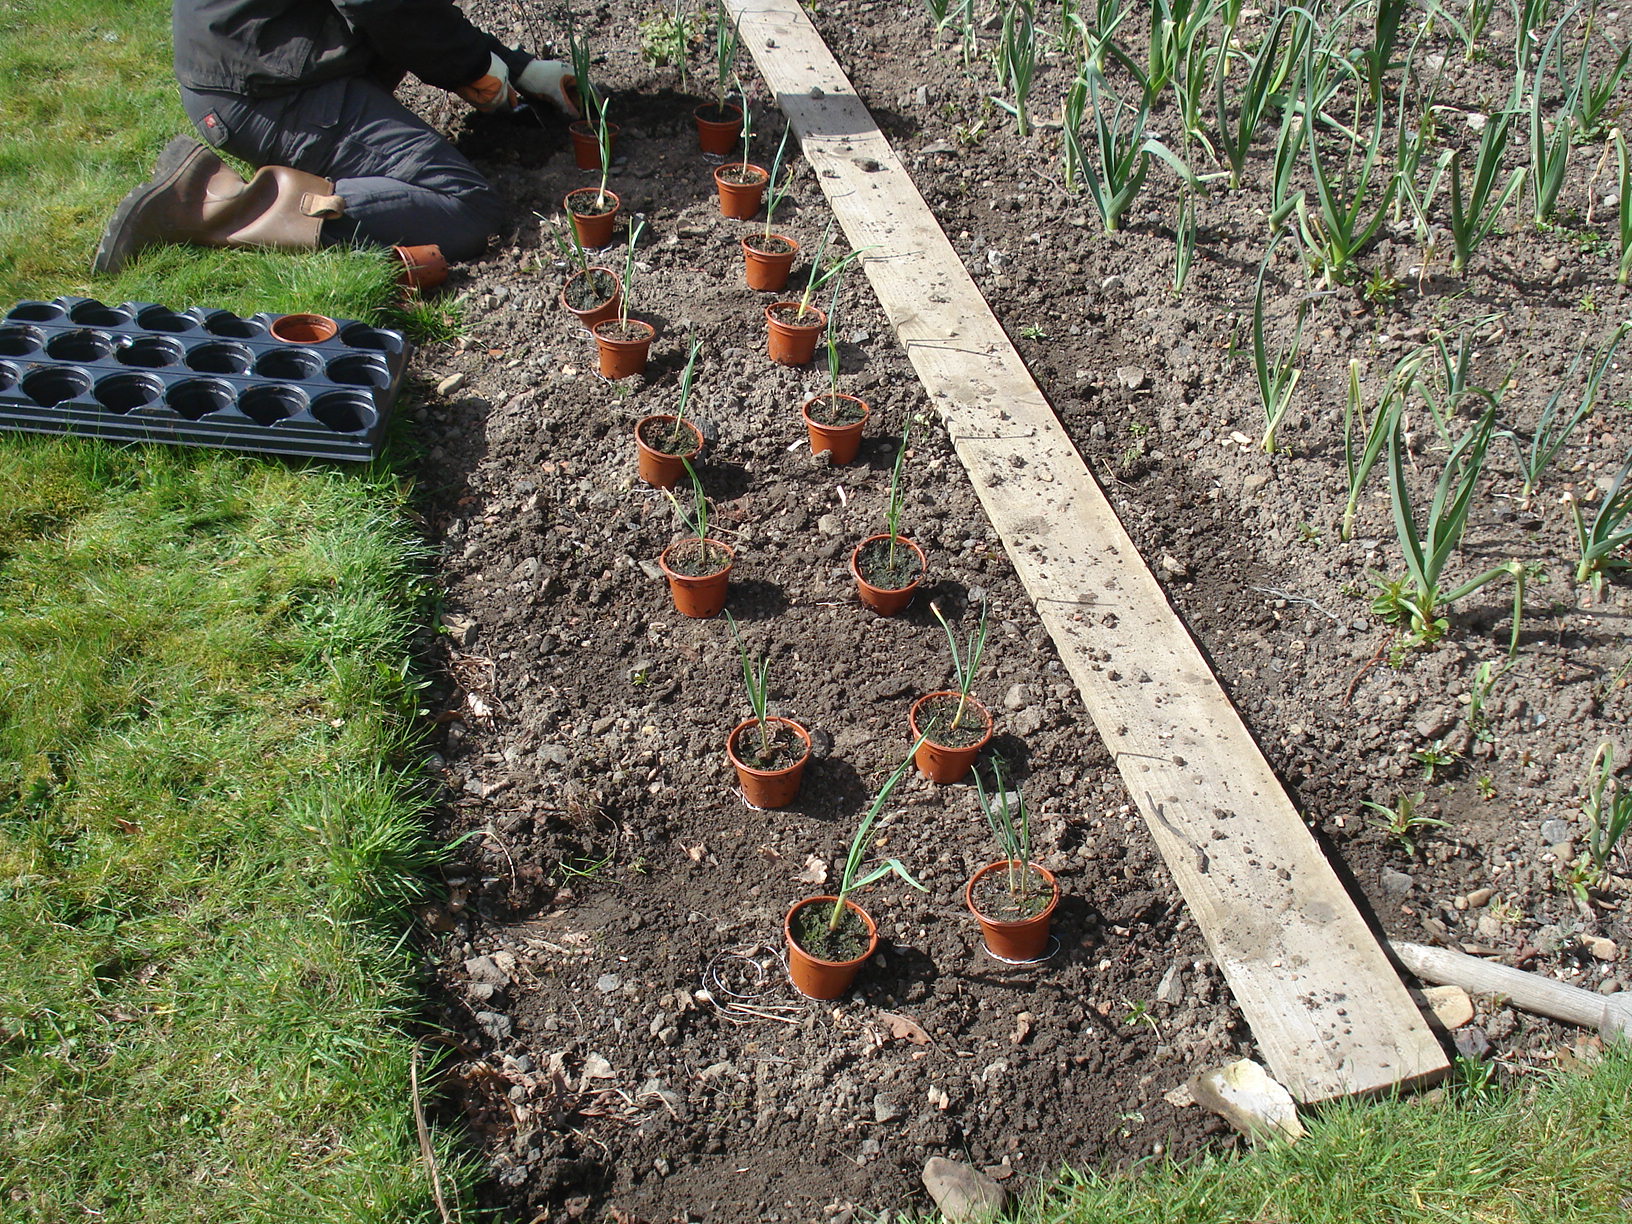
We sneaked the garlic in beside the leeks.

Dirty strawberry pots.
Home Sweet Home!